Embed a map in WordPress
Add a map to your page without copying code: use the MapSVG block in Gutenberg, the MapSVG button in Classic Editor, or the MapSVG widget in Elementor. Choose one of your existing maps, preview it, and save the page.
First, open your App in MapSVG and Publish the version you want visitors to see. Publishing the WordPress page and publishing the MapSVG App are separate steps: saving the page does not publish your map’s draft.
Gutenberg (WordPress block editor)
Section titled “Gutenberg (WordPress block editor)”- Open the page or post in the WordPress block editor.
- Click + to add a block, search for MapSVG, and insert the MapSVG block.
- In the block’s Map dropdown, choose your map by name.
- The map appears directly in the editor, so you can see it alongside your page content.
- Use WordPress Preview to check the complete page, then Publish or Update the page.
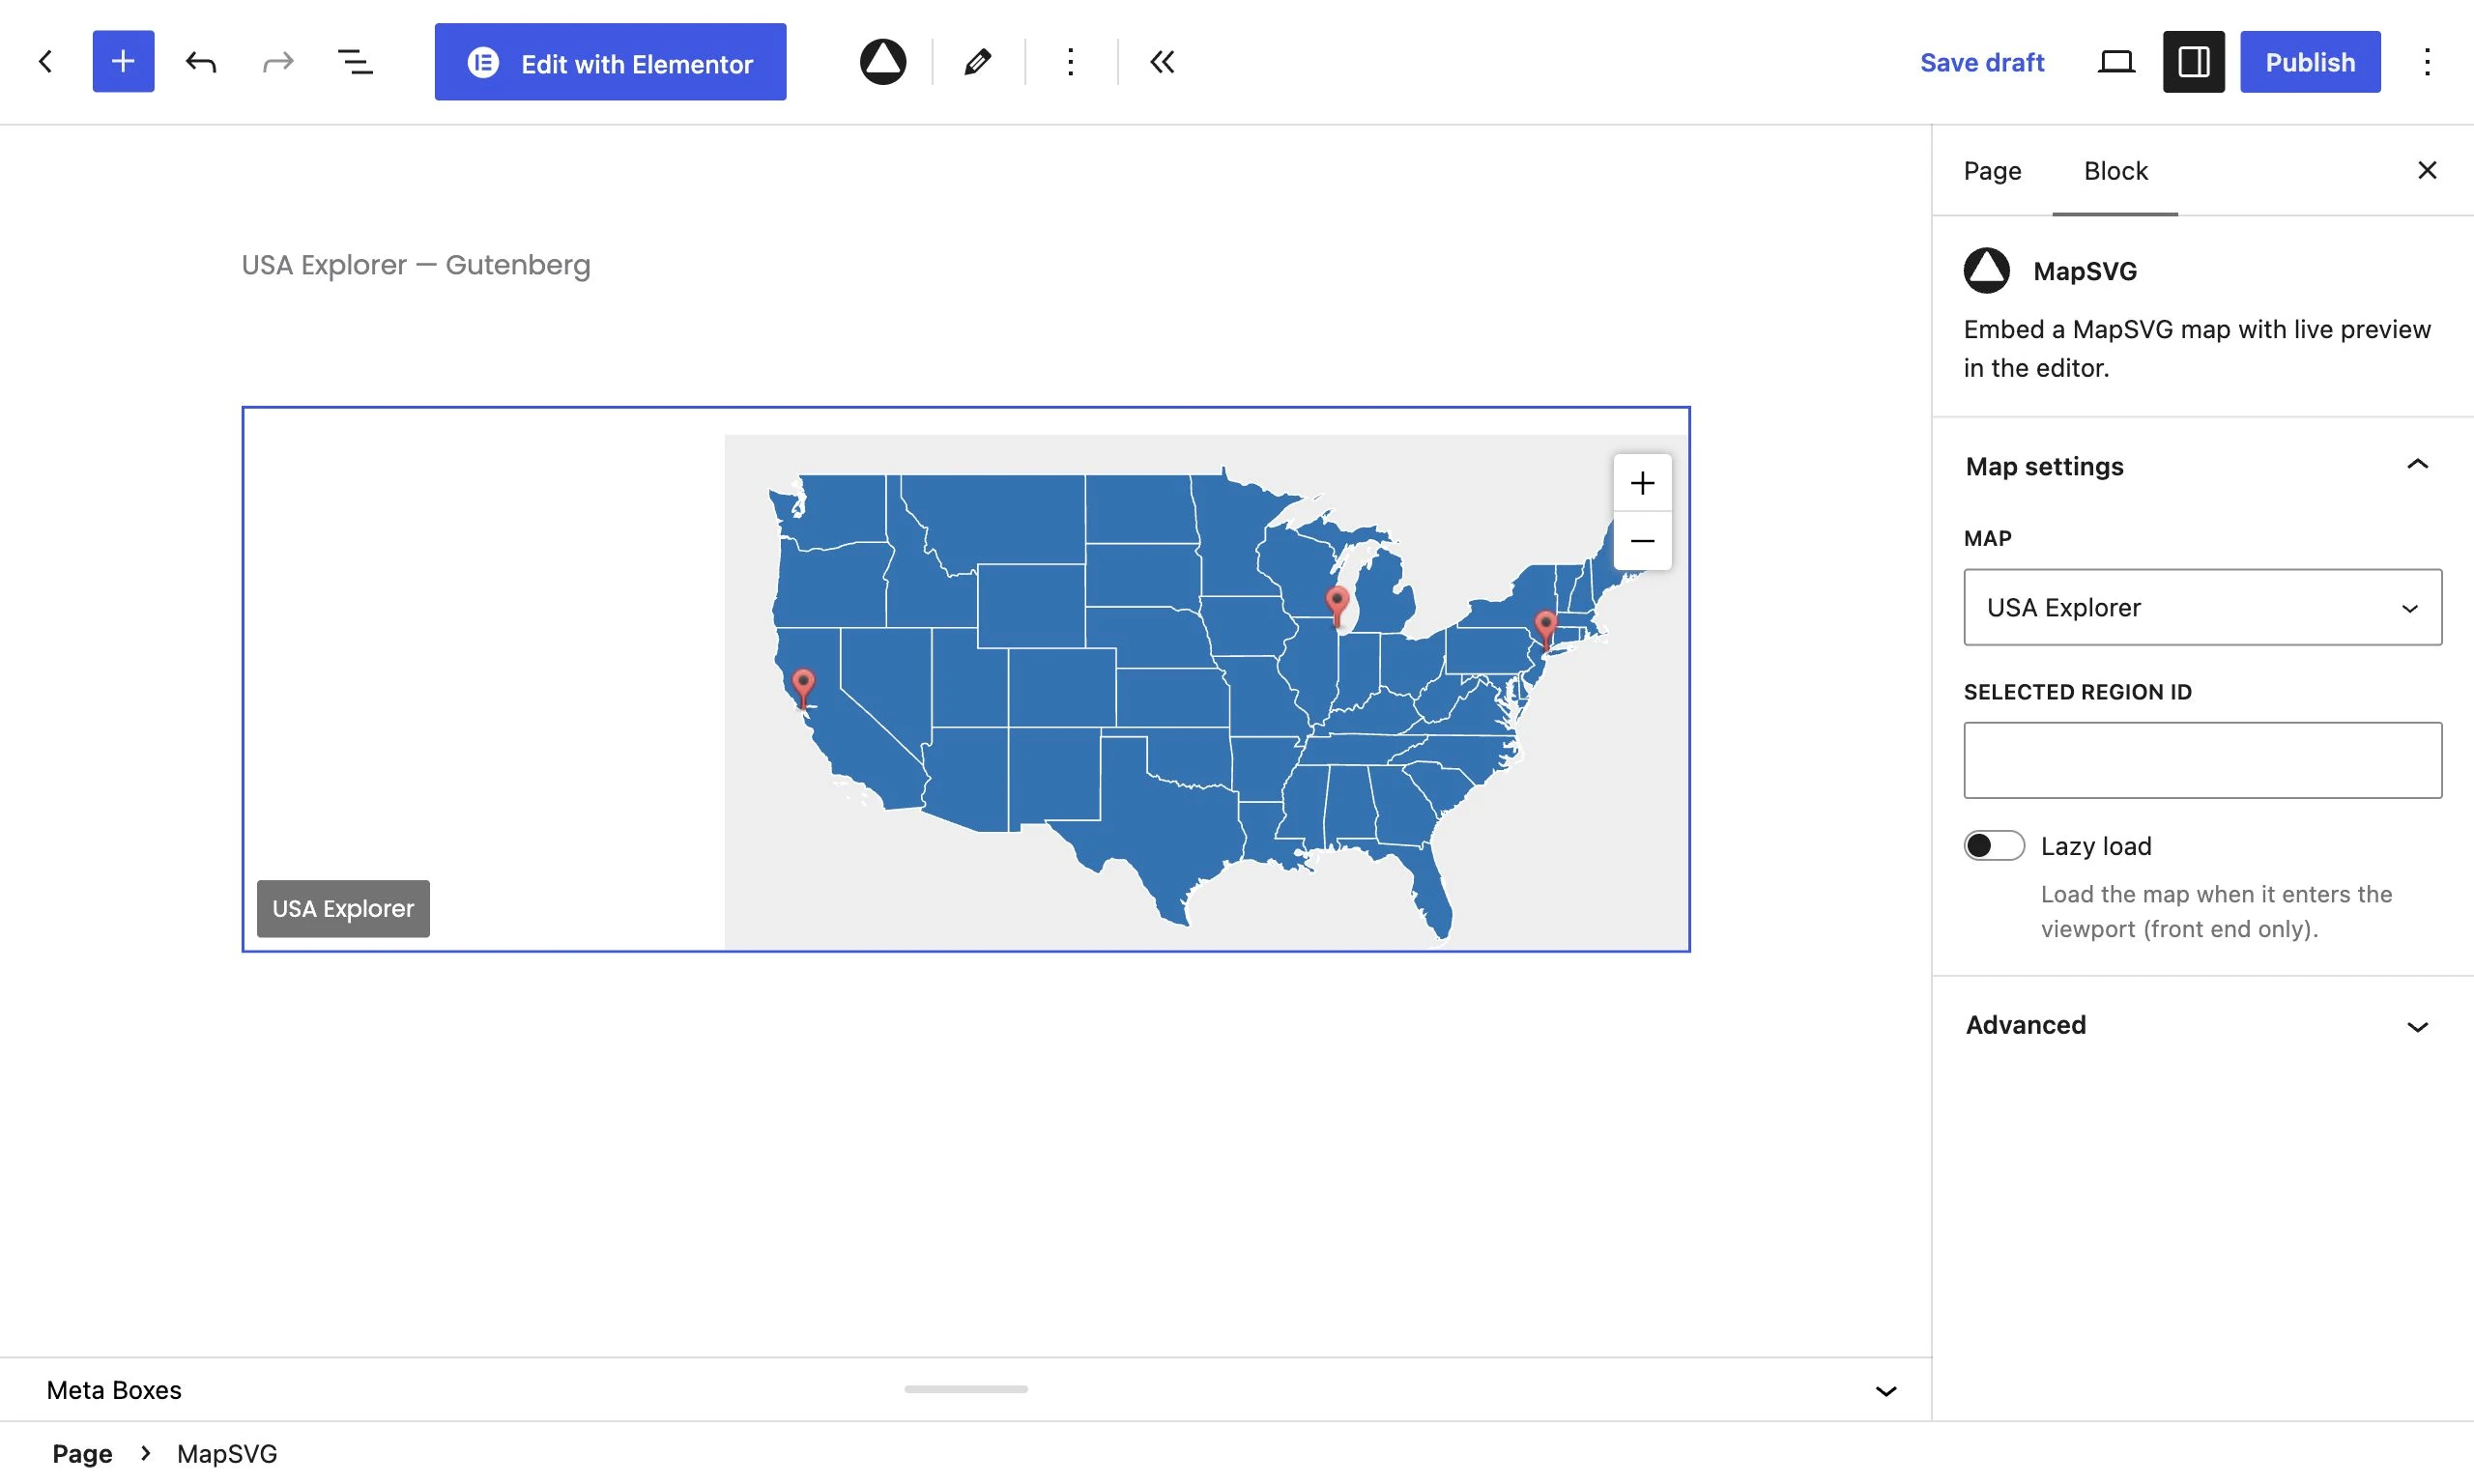
To choose a different map later, select the block and use Map settings → Map in the Block sidebar. The block toolbar’s Change map button also takes you back to the map picker.
The block includes optional Selected Region ID and Lazy load settings. Selected Region ID selects a region when the map opens; Lazy load delays loading until the map enters the viewport on the public page. The editor still loads a preview immediately. Interactions are shielded in the block preview so clicks select the block; test the actual map interactions in the page preview.
WordPress Classic Editor
Section titled “WordPress Classic Editor”- Open the page or post and switch to the Visual tab.
- Place the cursor where you want the map to appear.
- Click the MapSVG logo button in the editor toolbar. Its tooltip is Add a map @mapsvg.
- Click your map’s name in the map picker. MapSVG inserts it at the cursor automatically.

- Click Preview in the WordPress Publish panel to see the rendered map on the page.
- When the page is ready, click Publish or Update.
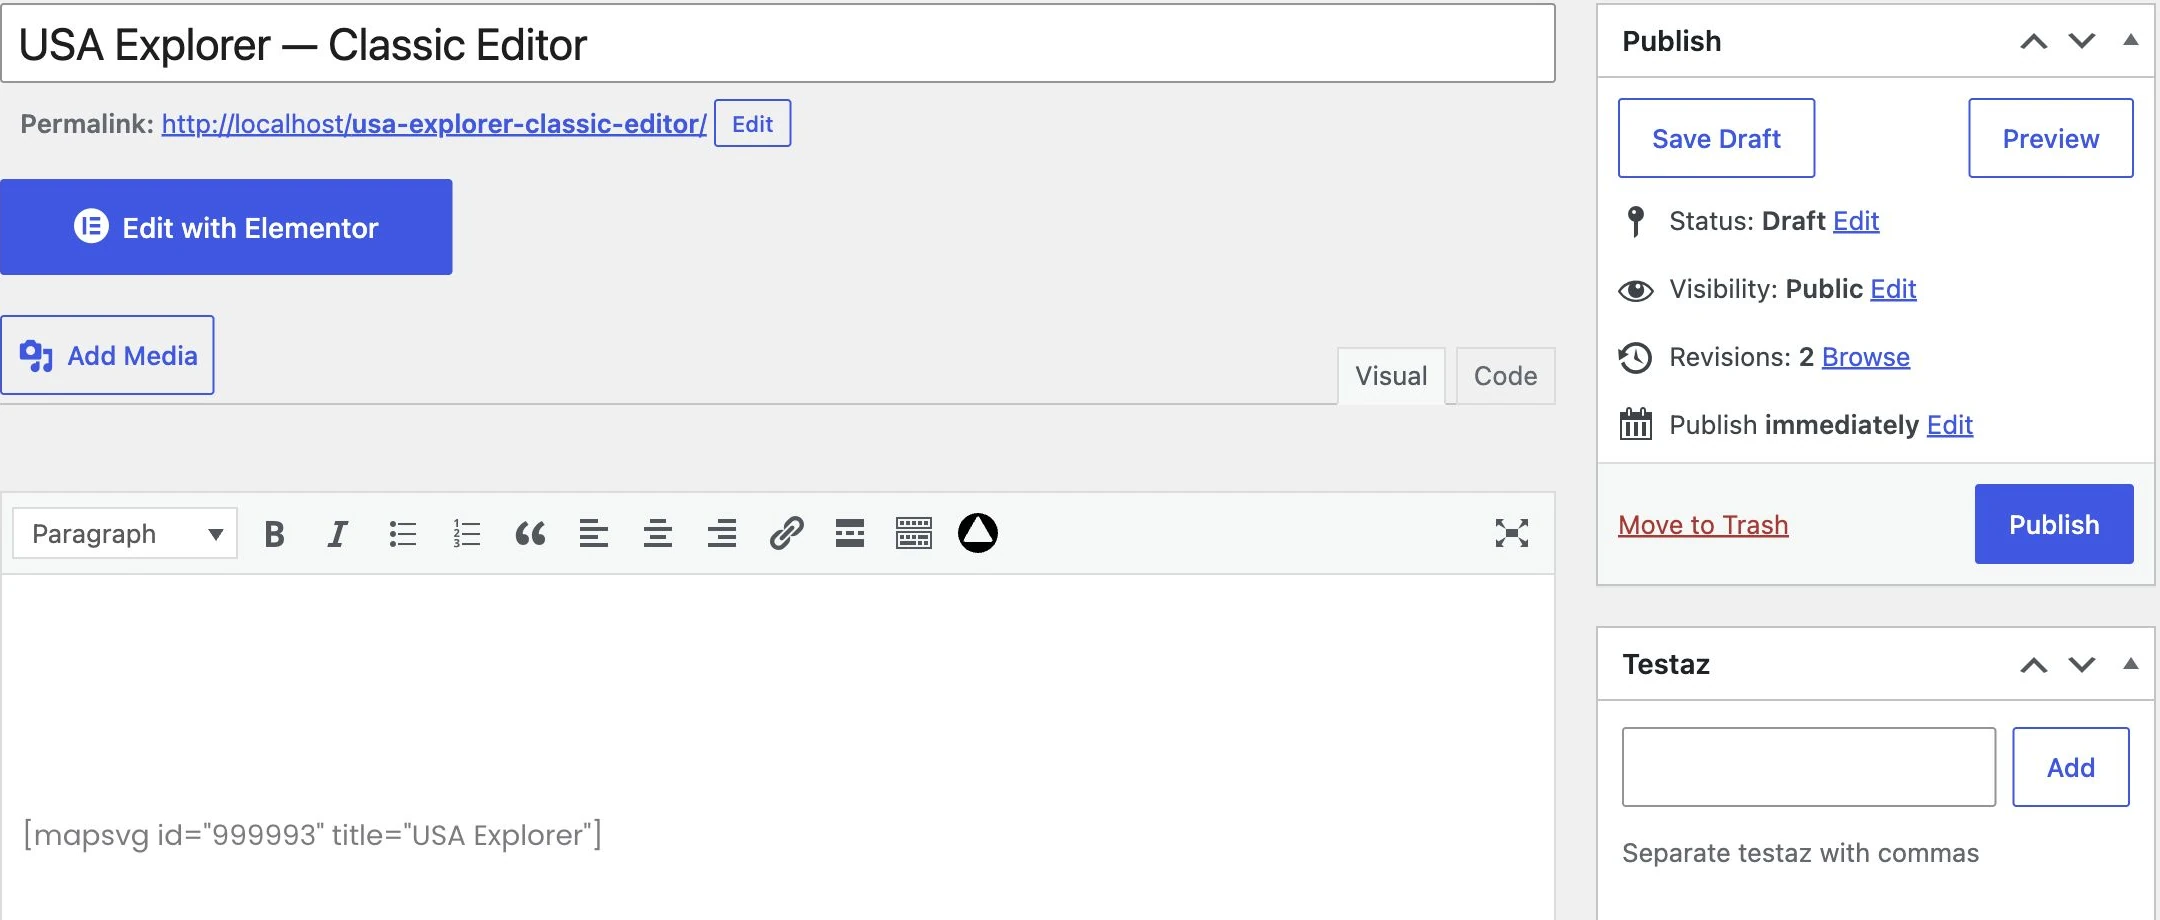
Classic Editor displays the automatically inserted shortcode in the editing area. You do not need to type it or look up the map ID yourself. The rendered preview opens through WordPress Preview, rather than appearing inline as it does in Gutenberg and Elementor.
Elementor
Section titled “Elementor”- Open the page with Edit with Elementor.
- Search for MapSVG in the widgets panel.
- Drag the MapSVG widget into your page layout.
- Under Content → Map, choose your map from the Map dropdown.
- The map appears in the Elementor canvas. Use Preview Changes to check it on the complete page.
- Click Publish or Update in Elementor to save the page.
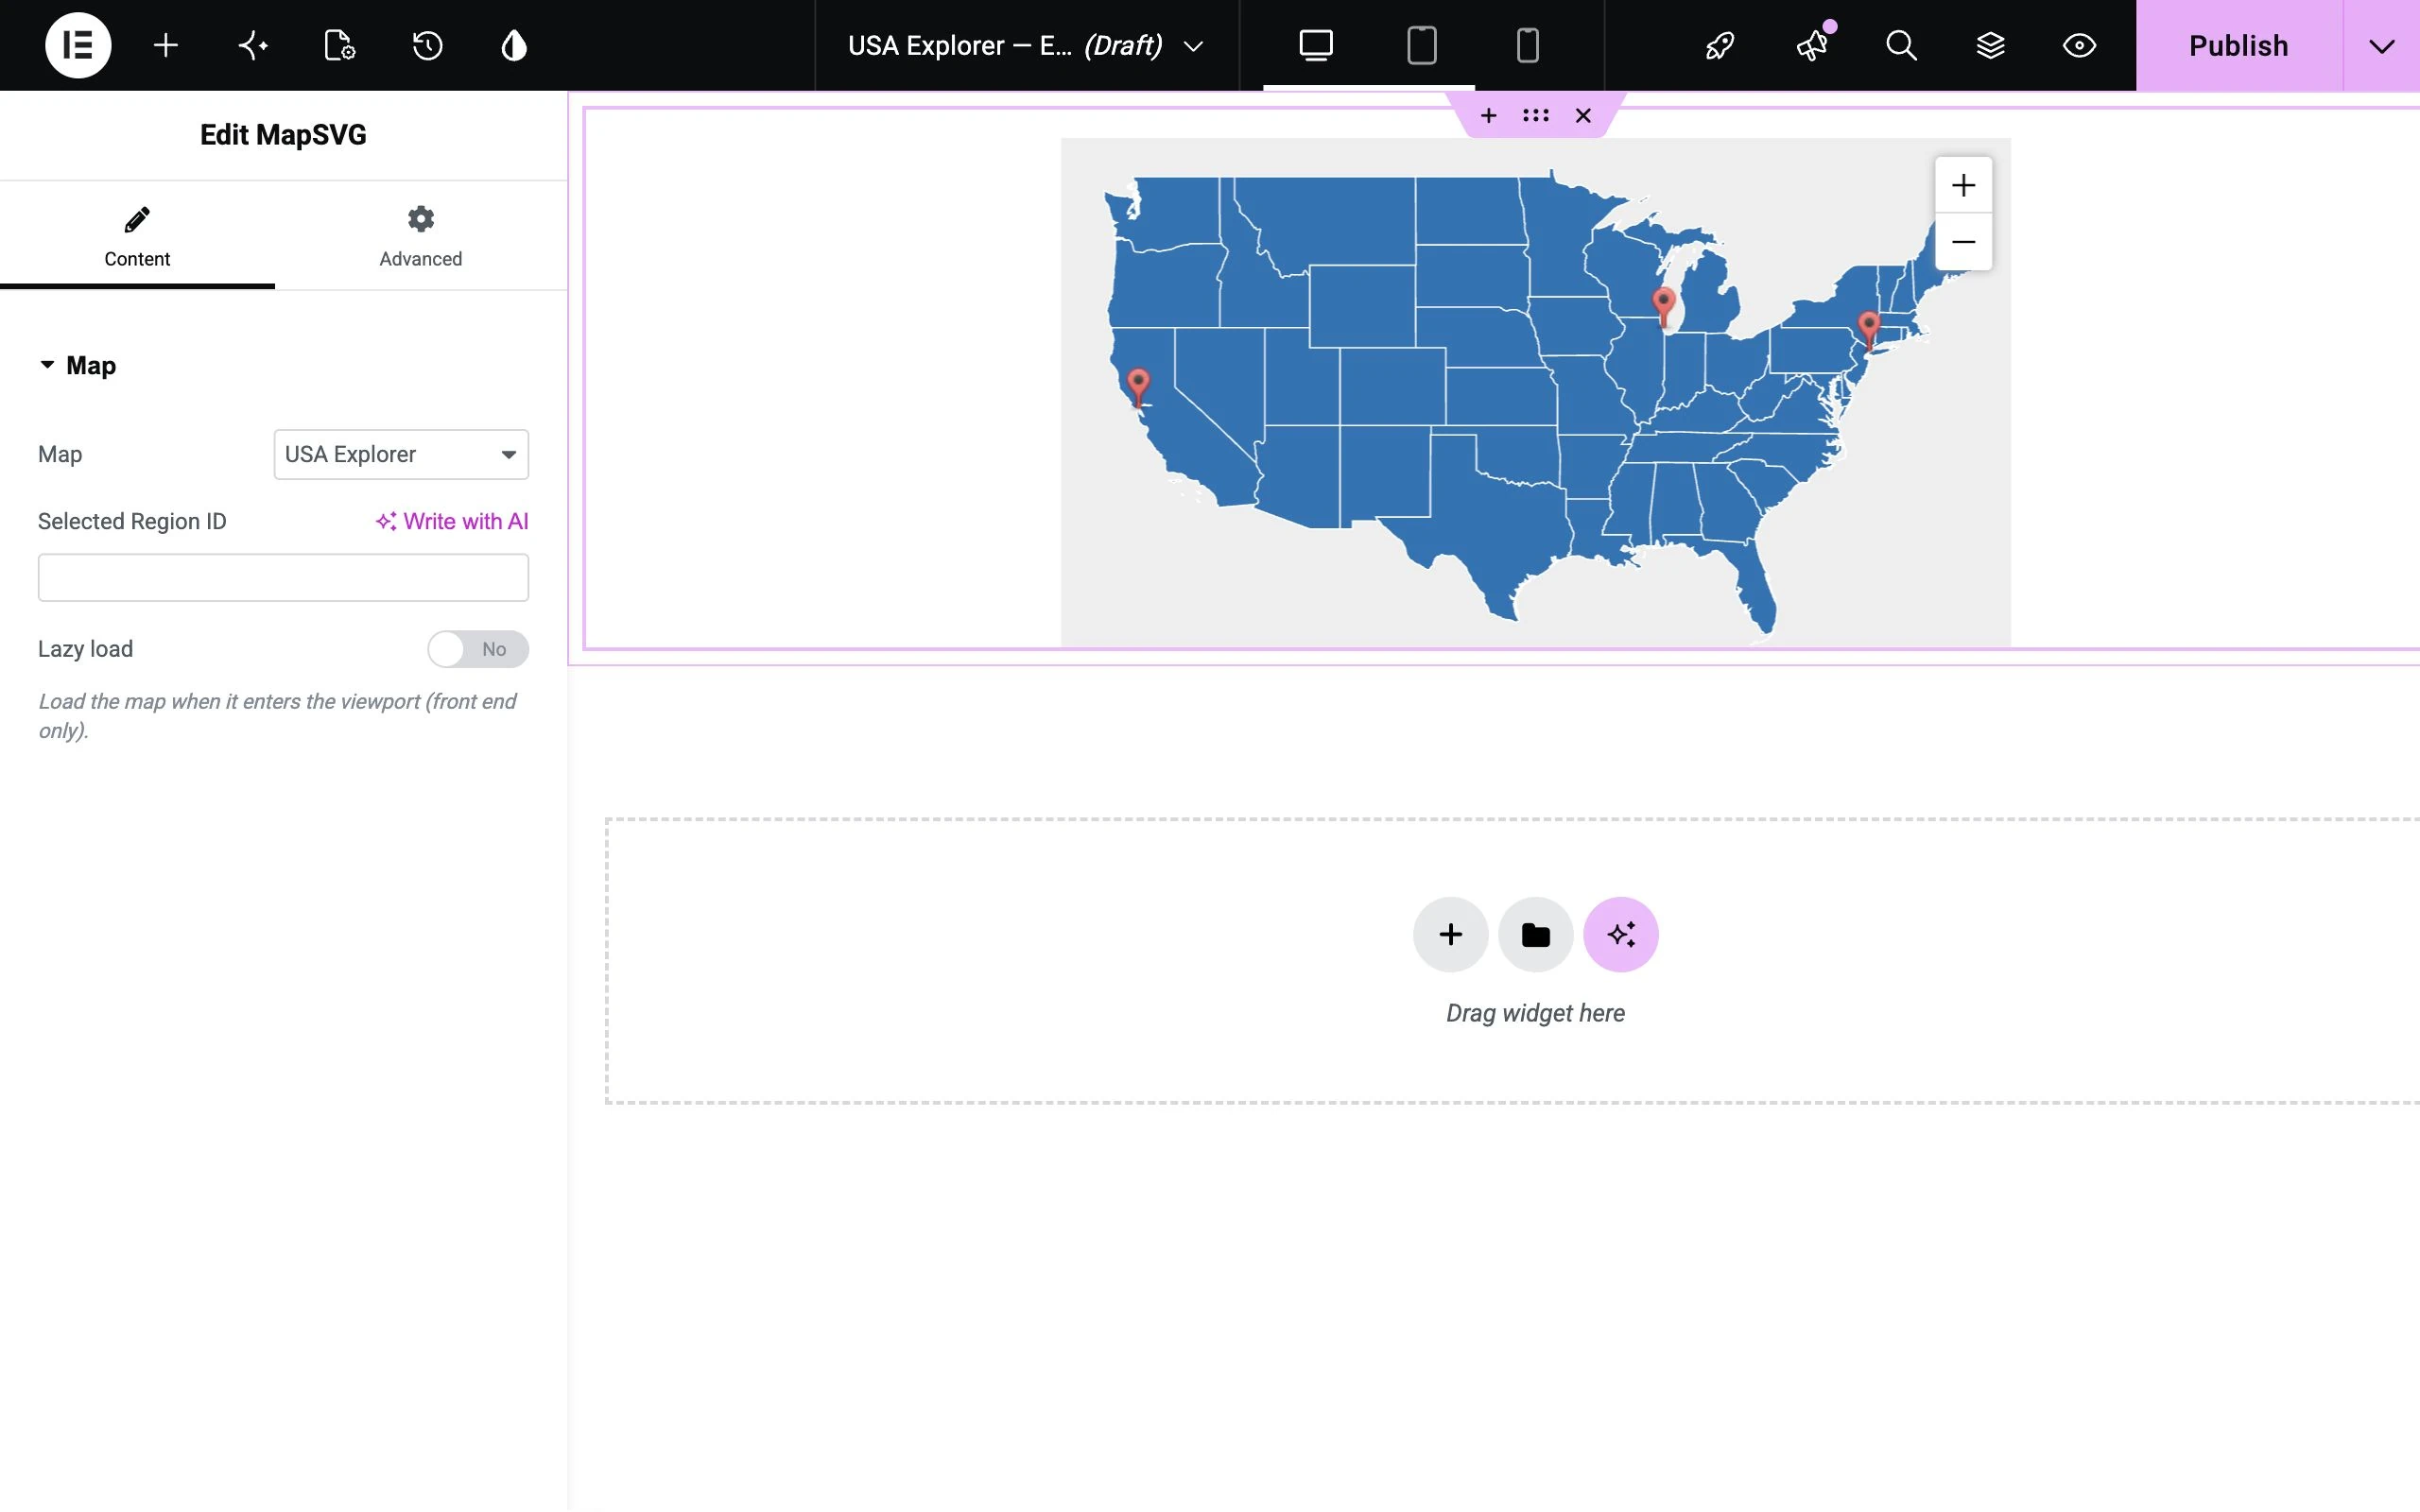
You can return to the widget’s Map dropdown to replace the selected map. Like the Gutenberg block, the widget also offers Selected Region ID and Lazy load; lazy loading applies to the frontend, while the editor shows a preview immediately. Use the page preview to test interactions, because the widget preview captures clicks for editing.
How embedded maps update
Section titled “How embedded maps update”These pickers embed your App’s current Published version. When you publish a newer version in MapSVG, the existing embeds follow that version without you replacing the block, widget, or inserted shortcode. Editing an unpublished MapSVG draft does not change the public page. With no Published version, the ordinary embed renders empty.
The width available to the map comes from the host page’s layout and your App configuration. Adjust the WordPress block, Elementor container, or theme layout when you need more space. The MapSVG editor’s App width and canvas zoom are only preview preferences.
Shortcode: fallback and advanced embedding
Section titled “Shortcode: fallback and advanced embedding”Use a shortcode when your editor has no MapSVG picker, when you need to place a map in another shortcode-compatible area, or when you want to explicitly select a published version. For ordinary Gutenberg and Elementor pages, start with their MapSVG block or widget instead.
Use Copy shortcode in the map’s action menu or on its current Published version in Versions. This copies an unversioned shortcode:
[mapsvg id="999993"]The ID belongs to this documentation’s example map. Always copy your own App’s shortcode.
- Gutenberg: paste it into a Shortcode block.
- Classic Editor: paste it into the page content, or let the MapSVG toolbar button insert it for you.
- Elementor: paste it into the Shortcode widget.
Then preview and save the WordPress page.
Pin a specific published version
Section titled “Pin a specific published version”Use the shortcode when a page must keep showing a particular publication even after you publish newer versions elsewhere. Copy it from the corresponding History row in Versions:
[mapsvg id="999993" version="9"]Here, id identifies the App and version identifies its published snapshot. The visual MapSVG block and widget select an App; their map dropdown does not pin a historical version.
Only use an actual publication/version number from your App. A draft ID is not a published version number. Version-specific embedding pins the App configuration; its shared records and Query definitions can still change. See Drafts and versions for the publication workflow.
Keep a version-specific shortcode in the editor’s Shortcode block or widget. Do not convert it to the MapSVG block if you want to preserve the explicit version selection.
Preview an unpublished draft
Section titled “Preview an unpublished draft”The MapSVG editor toolbar’s Preview button opens the selected draft on a separate frontend preview page. This is useful for reviewing changes before publishing the App; the map picker on a WordPress page continues to use its Published version.
Draft preview requires a logged-in user with the appropriate editing capability and access to the App. It is an authenticated editing workflow, not a public preview link to distribute to visitors. Do not manually add preview parameters to make a draft publicly available.
Verify outside the editor
Section titled “Verify outside the editor”After saving, open the actual page while logged out and test filters, links, mobile navigation, and any Google services. An editor preview alone does not verify your theme’s page layout or frontend script loading.
If the MapSVG control is missing in your editor, use the shortcode fallback and check that MapSVG is active and its editor assets load correctly. Optimization plugins must not defer required scripts into an incompatible execution order. If only the editor works, check the frontend console and Troubleshooting.