MapSVG 9
MapSVG 9 is AI-first. Its biggest change is how you build a map: describe what you want in the AI chat and let MapSVG create and configure it. With AI chat enabled, you can build your entire map through prompts without opening the settings panels.
Start with an SVG, an image, or a Google Map. Ask the assistant to style regions and markers, connect data, add filters and a directory, arrange the layout, and choose what visitors see when they hover or click. Watch the result in the live preview and keep refining it in the same conversation.
Build by chatting
Section titled “Build by chatting”Open New chat to start, or select AI while editing an existing App. Describe the result you want in plain language. For example:
Create a USA office locator with blue states and white borders. Add office markers, a category filter, and a directory beside the map. Show each office’s address when its marker is clicked.
Follow up with requests such as “Move the filters above the map” or “Make the markers smaller.” You can stay in chat throughout; the visual editor is there whenever you want to adjust something by hand. See AI assistant for more examples.
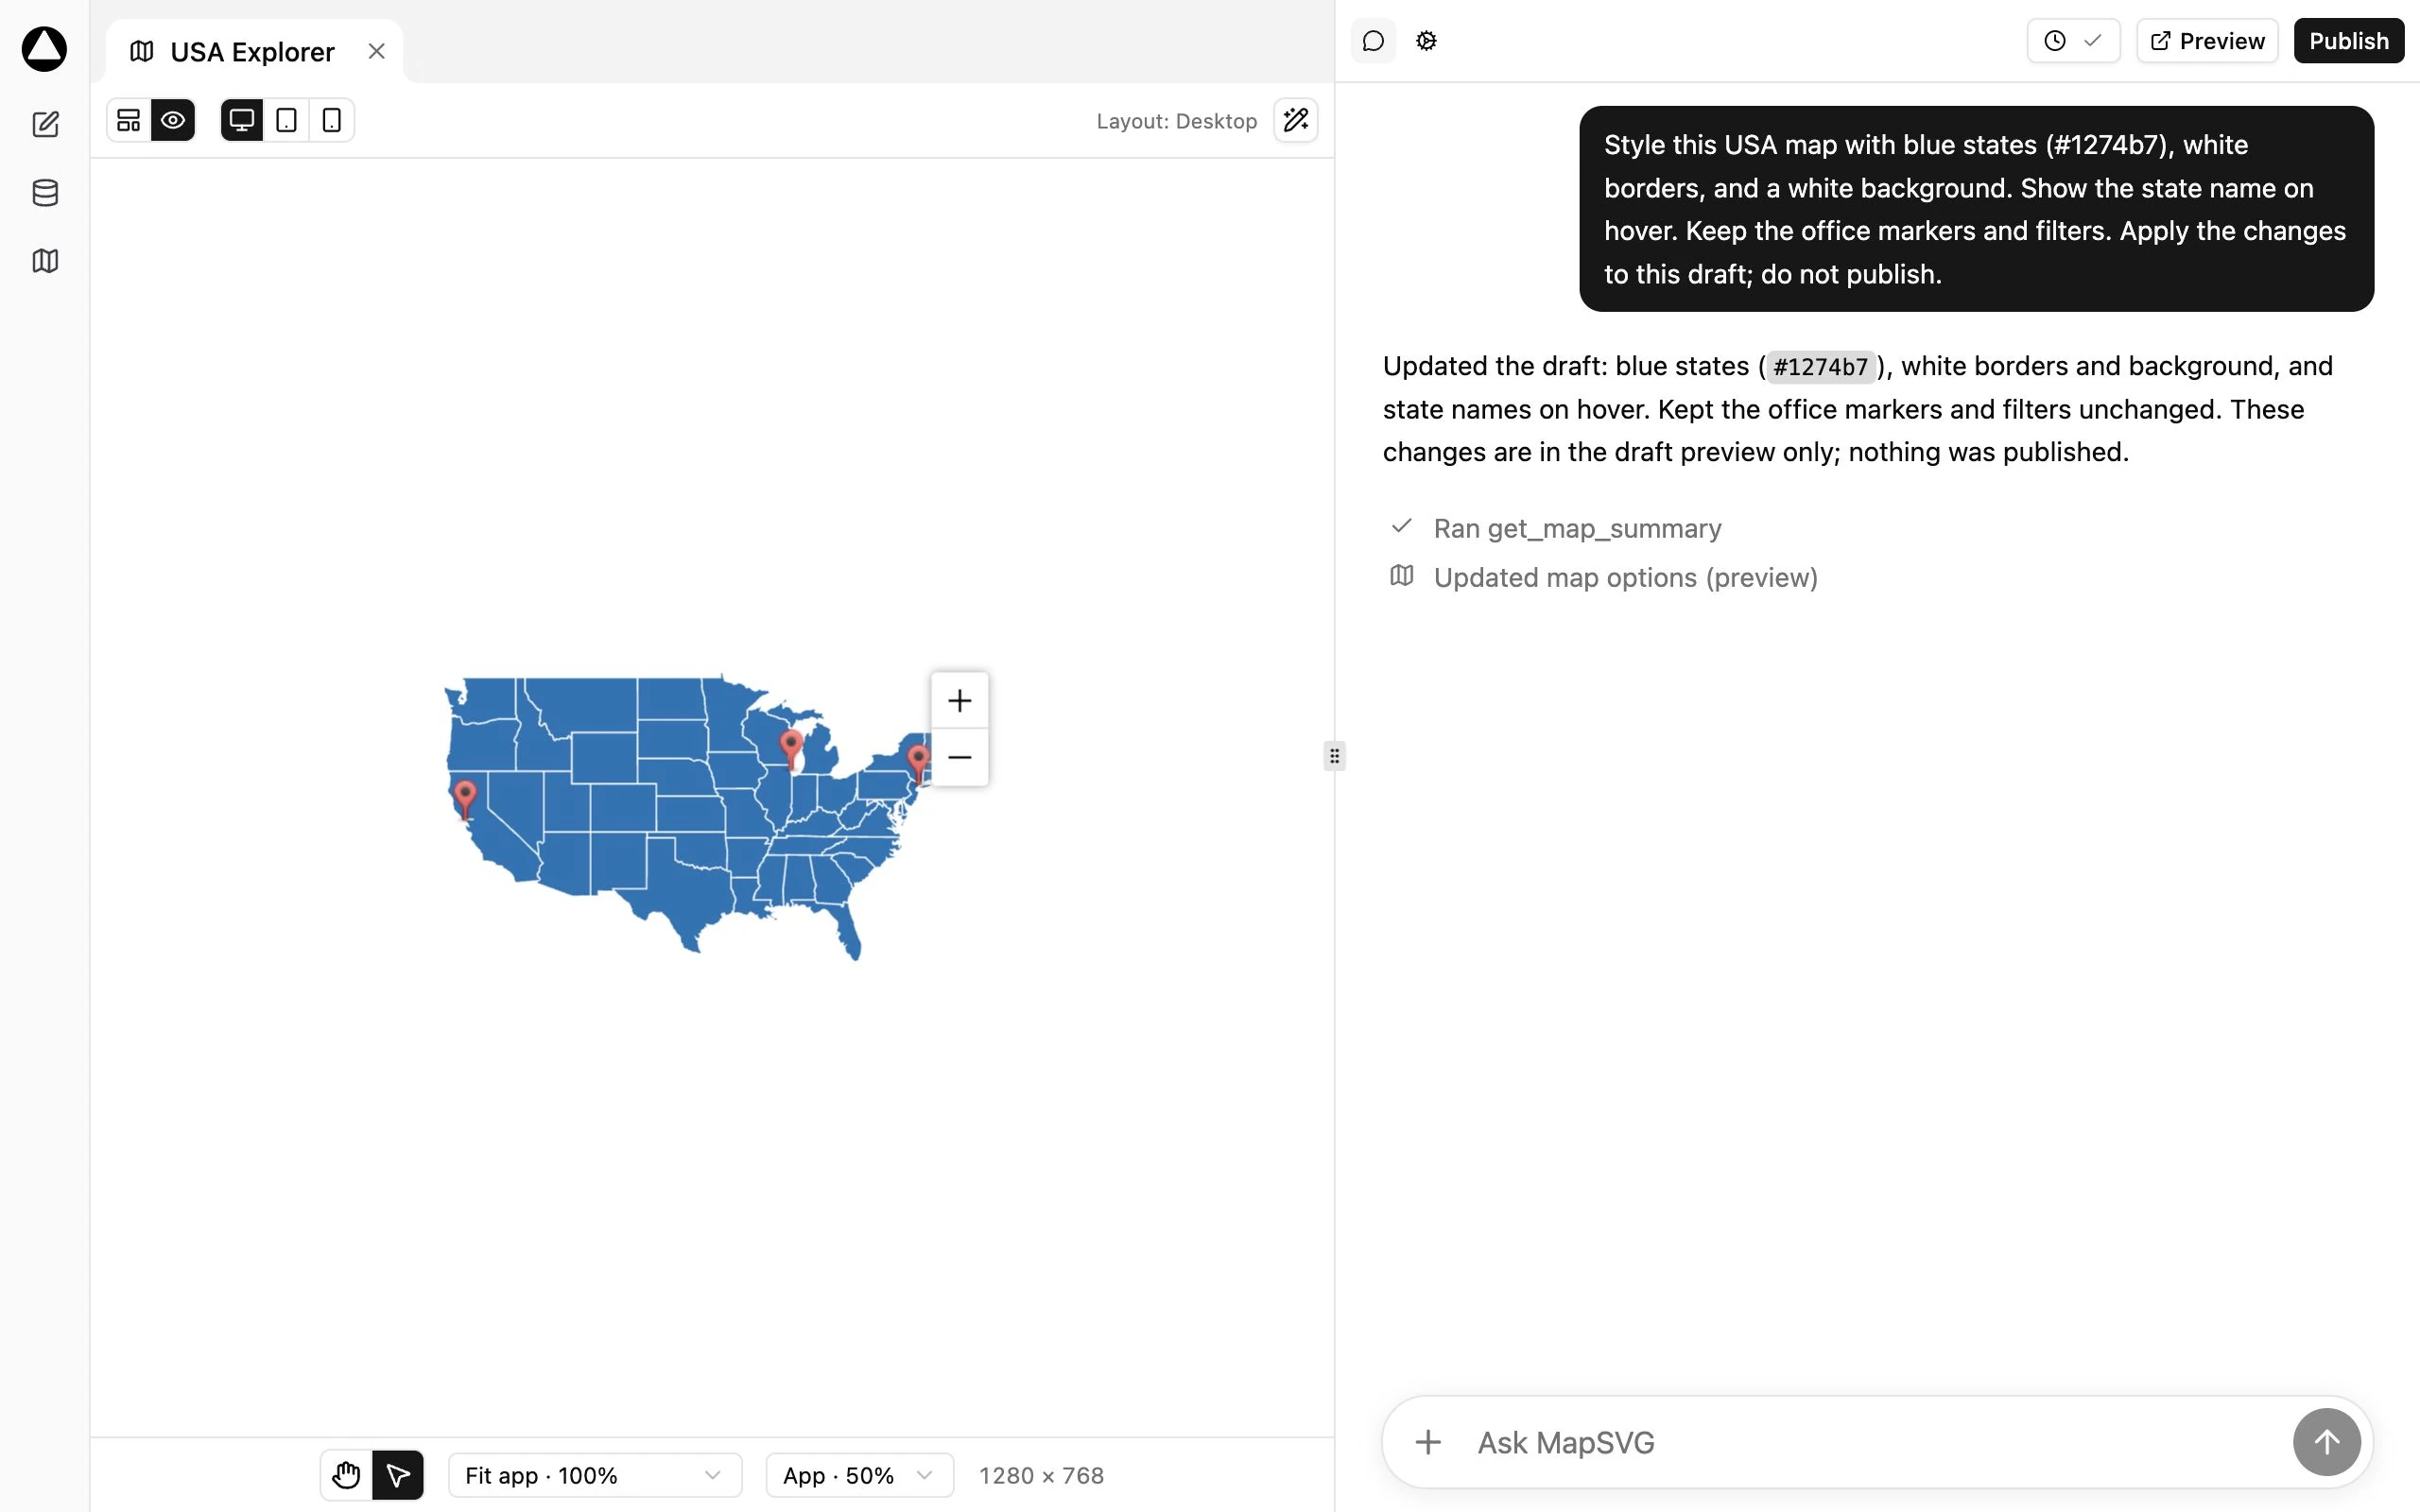
In this example, a prompt updates the USA map’s colors and hover labels directly in the draft. The conversation and live map stay side by side, with no settings panel open.
AI chat requires an active AI assistant module and connection. Features requested in a prompt also need their corresponding modules and, for Google Maps, a configured Google API key.
Version 9 also introduces a global Database workspace, responsive Layout editing, and named drafts. The map your visitors use retains the familiar MapSVG interactions.
Start with a working map
Section titled “Start with a working map”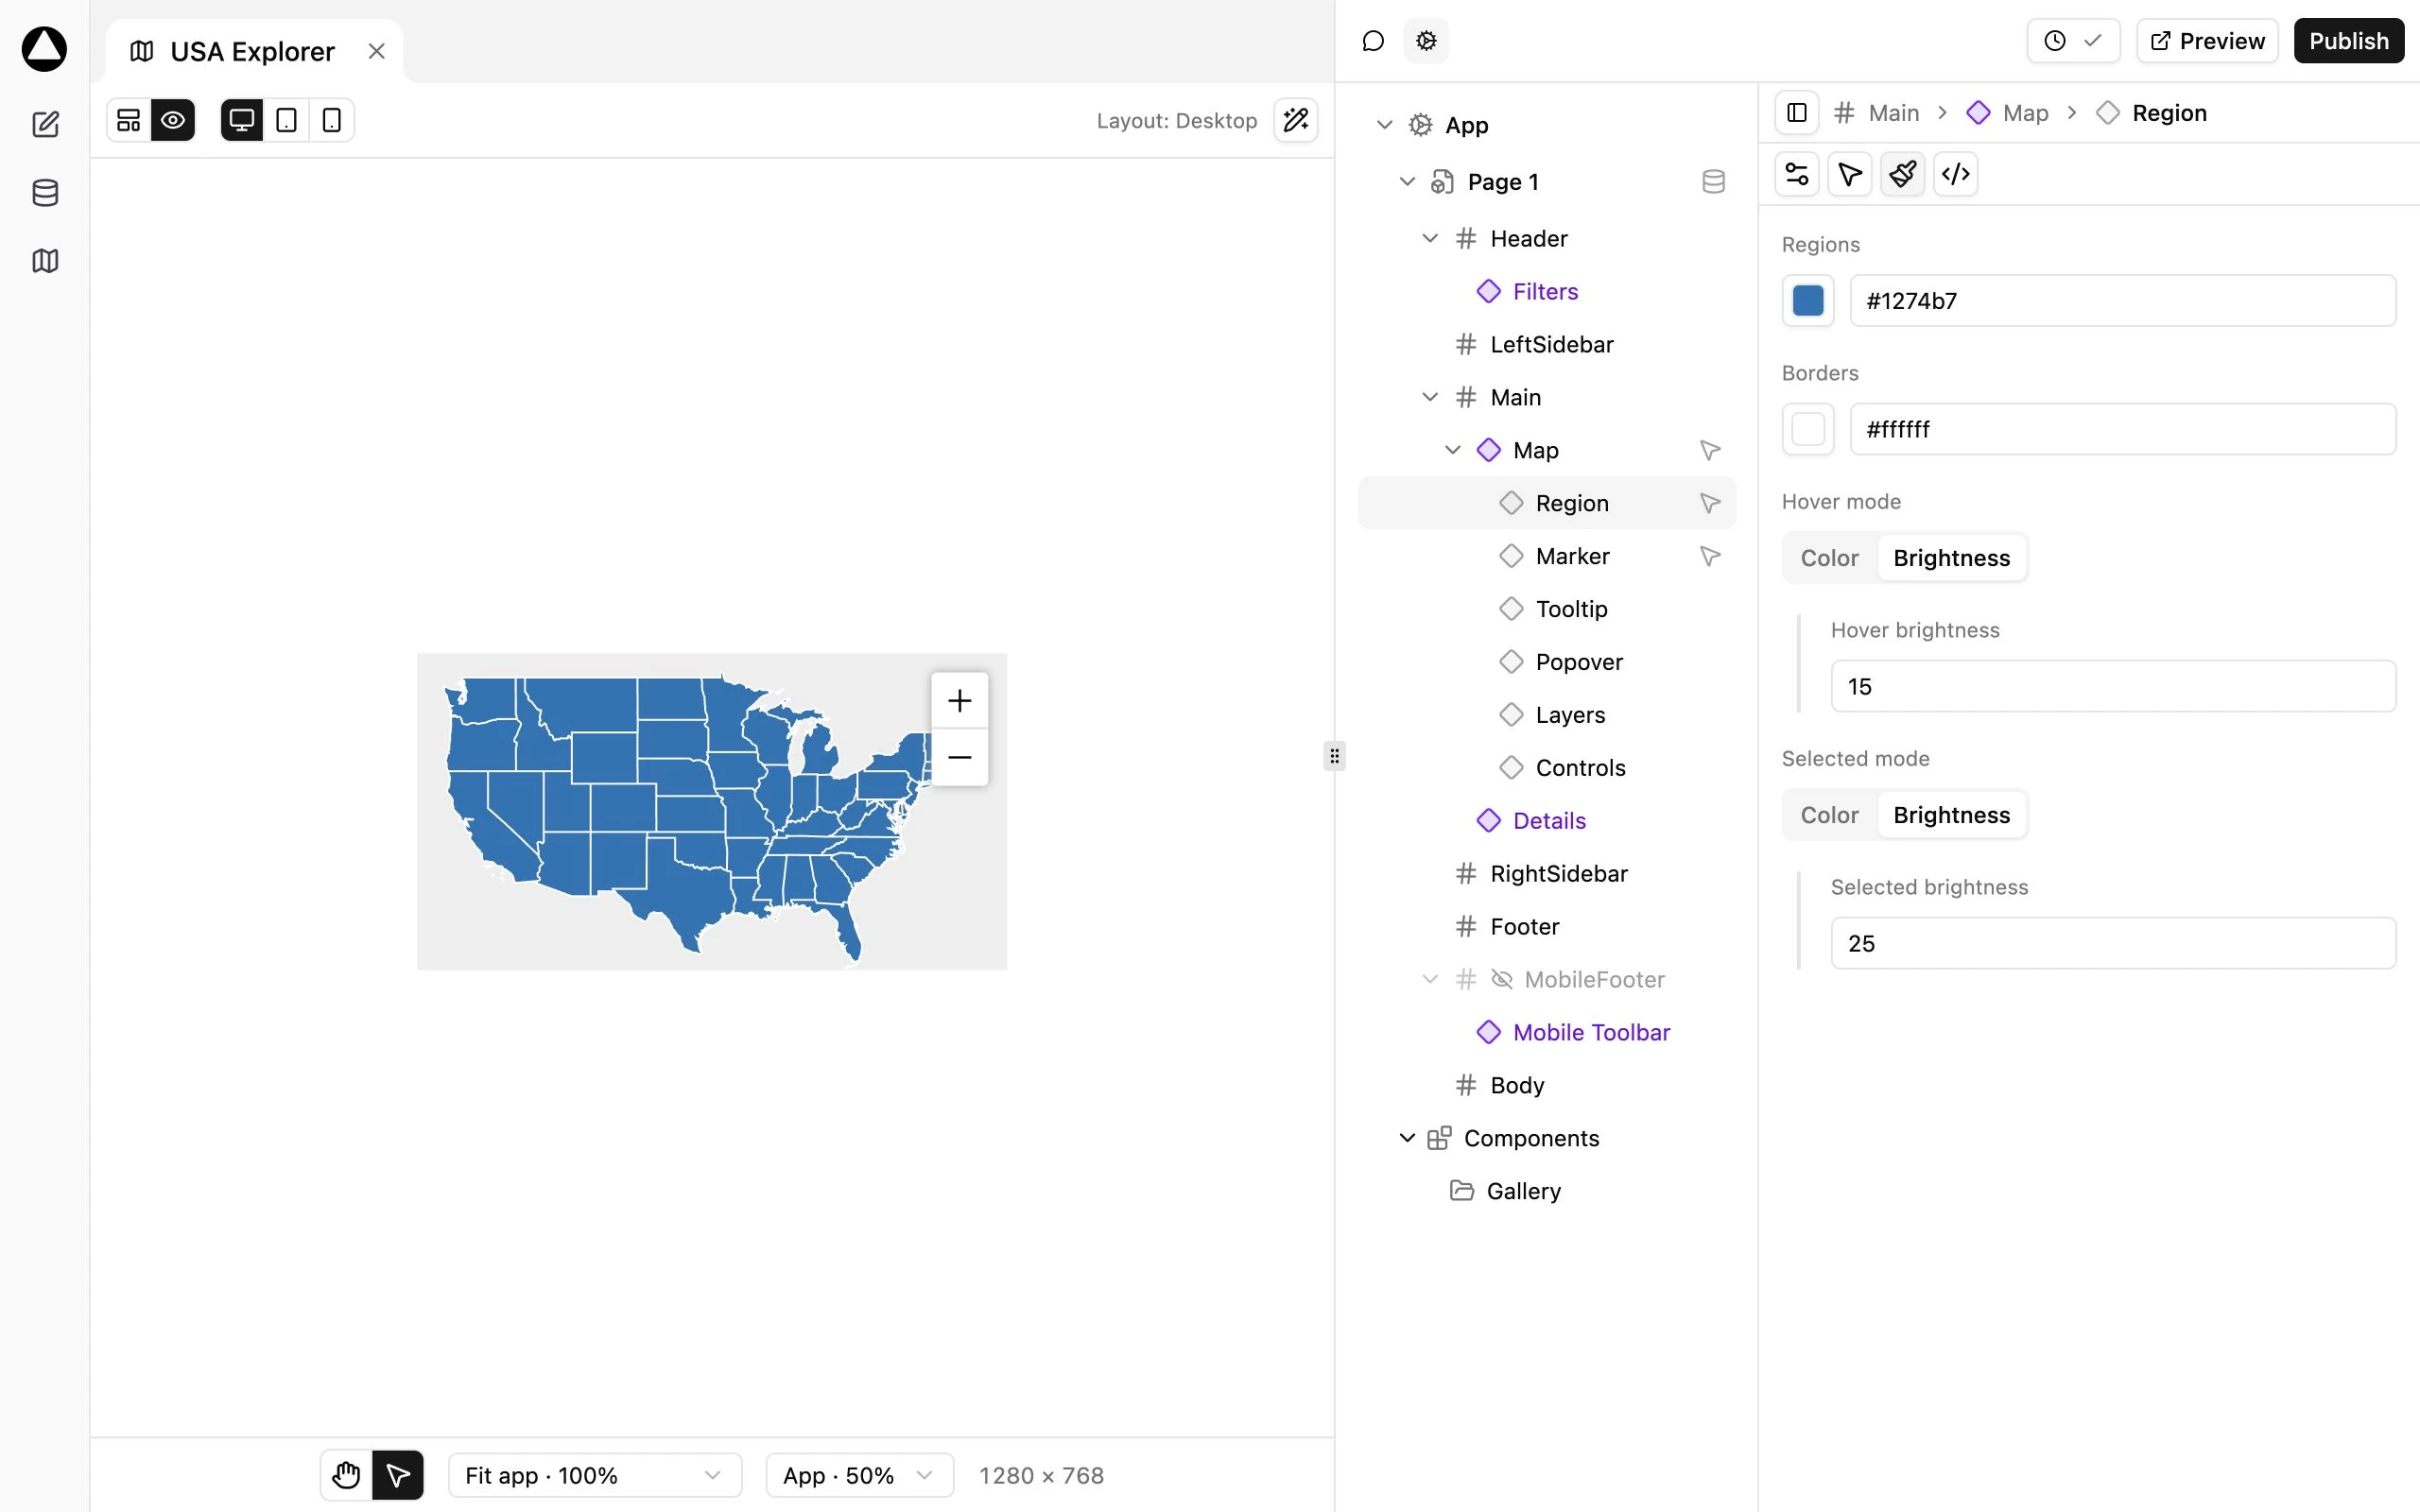
Click a screenshot to open its full-resolution image.
Find your task
Section titled “Find your task”- Build or change a map through prompts: AI assistant.
- Arrange the map, filters, and directory: Responsive Layout.
- Add places or edit region information: Collections and records.
- Choose which records the map uses: Queries and Page bindings.
- Color regions from data: Regions and Data rules.
- Change marker images: Markers.
- Change popover content: Templates.
- Try a design without changing the live map: Drafts.
- Move an existing map to the new editor: Upgrading from v8.
The examples use a map named USA Explorer, based on geo-calibrated/usa.svg. Its blue region color is #1274b7, with white borders. Example names and data are fictional.