WP Post data source
This feature is available in:
- MapSVG Plus
- MapSVG Pro
- MapSVG Elite
Load WordPress posts onto a map as markers. Posts stay in sync with MapSVG in both directions.
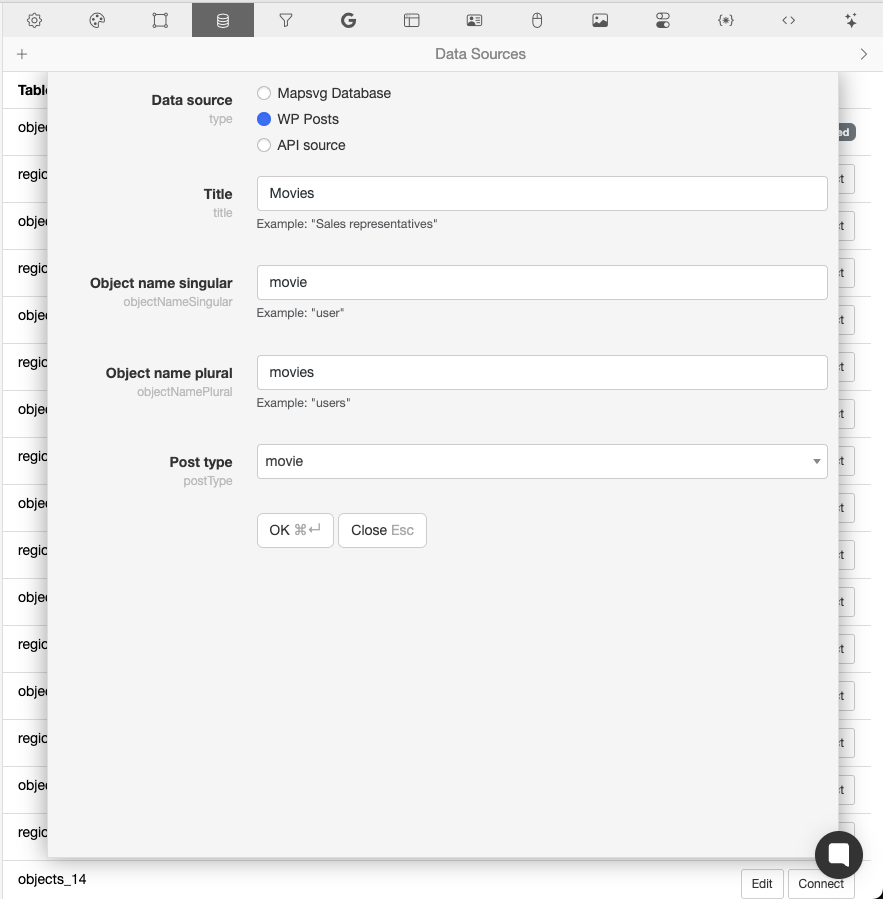
Create a new map and go to the Database tab. Click the Data Source button in the top toolbar. Click the + button to add a new data source. Choose Data Source: WP Post, and fill in the other fields.
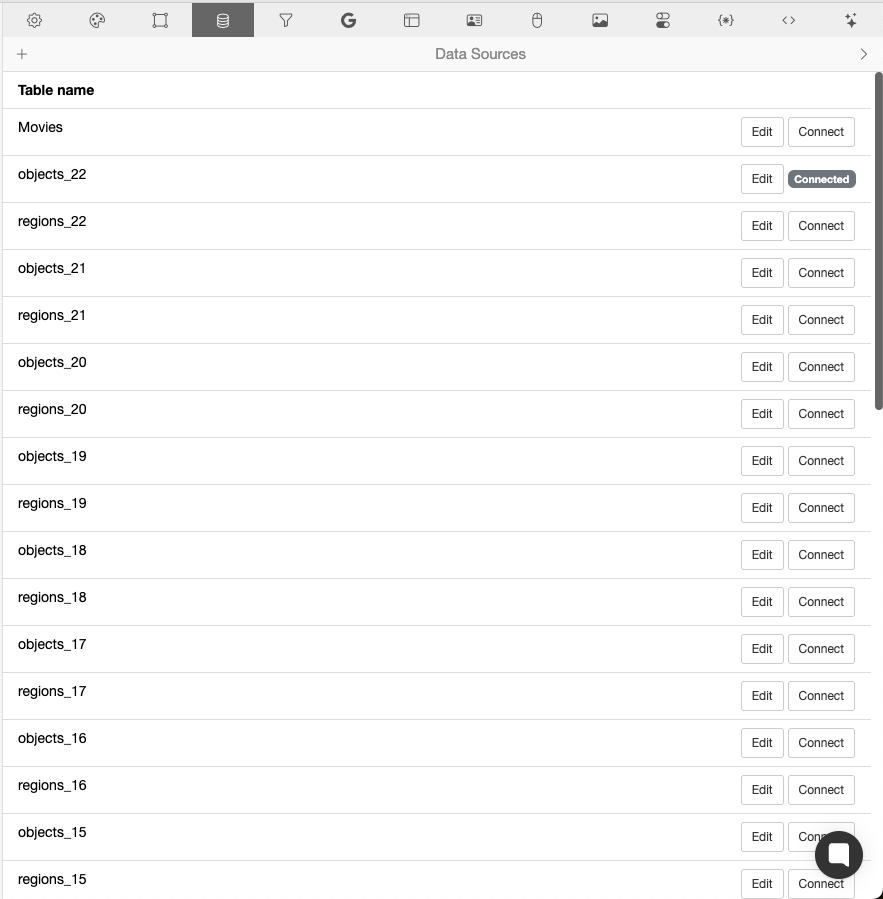
When the new data source is created, click "Connect" on it:
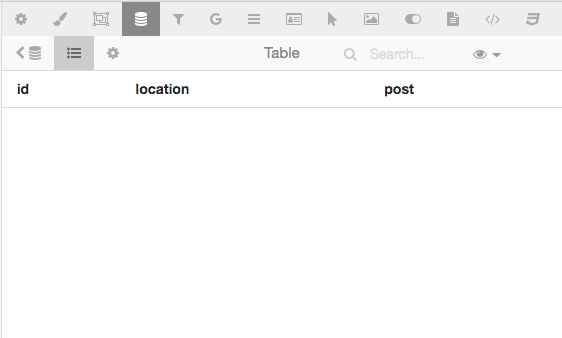
The view goes back to the table view, which is empty because no posts have been added to this map yet:
Click the "Save" button in the top toolbar to store the connection to the new data source in the map settings.
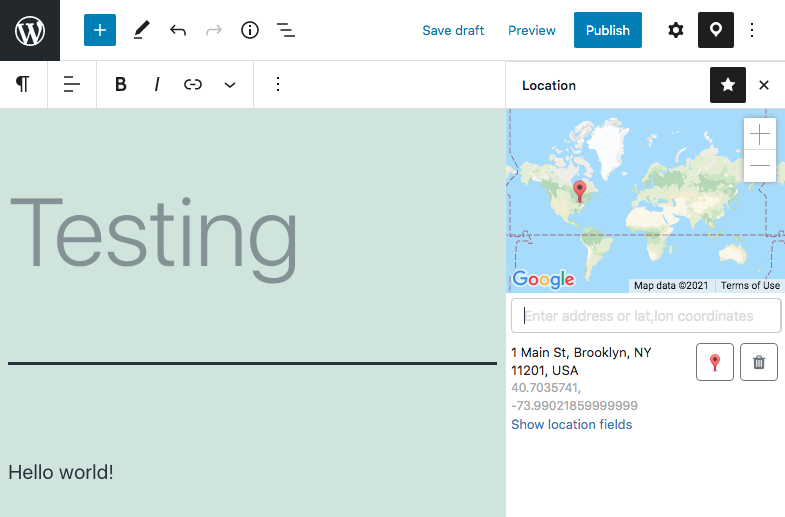
Don't close the tab with the map. In a new tab, go to WP Menu > Pages > Add new. Enter a post title, then click the MapSVG icon in the top-right corner of the page:
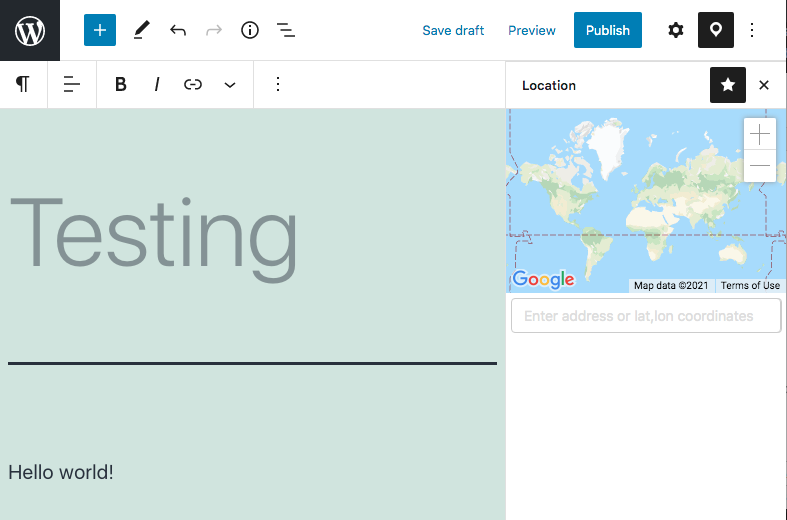
Enter an address in the search field below the map, then click the address in the drop-down to add a marker:
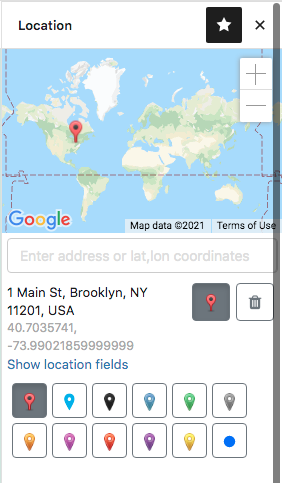
You can click the marker button to change the marker image:
Publish the post and then go back to MapSVG. If it's already open in another tab, reload the page to see the post:
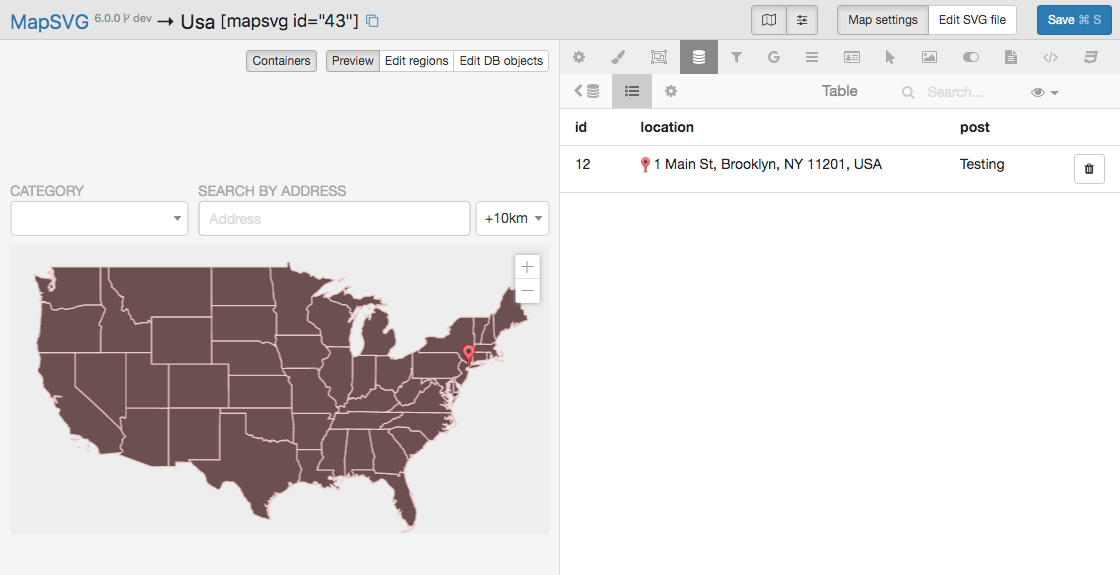
The data is synchronized in both ways:
- If you change the post location on the post editing screen, it updates automatically in MapSVG.
- If you delete the marker on the post editing screen, the post disappears from MapSVG.
- If you change the post location in MapSVG, its location is updated on the post editing screen.