Image maps
Open MapSVG and click New Image map. Choose the file from your local disk. You'll be redirected to the next screen with the map editor.
If you open the list of Regions, you'll see that it's empty. You need to draw some vector shapes that will be interactive. Click the Edit SVG file button in the top toolbar. The screen will change to Drawing mode.
You'll see the drawing tools on the left side:

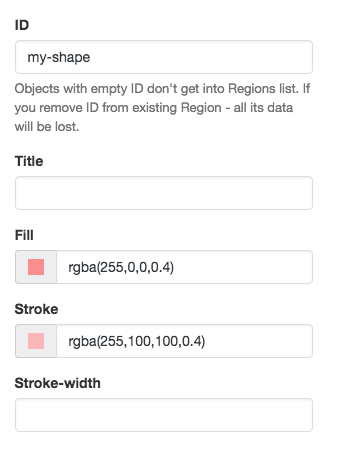
Click the Pencil button. With this tool you can draw polygons. Click any point on your image to start drawing, then click the second and third points — you'll see a polygon start to appear. Add more points, then double-click to close the path. Enter an ID in the window that appears. After that you can click the Arrow tool in the left vertical toolbar, select your shape, and edit its properties on the right side:
If you need to update the original image in your Image Map, select the Arrow tool in the toolbar on the left and click the image. You'll see the list of image properties on the right side. You'll also see an Upload button that lets you upload a new version of the image.
To scroll the map, hold down Spacebar and move the mouse pointer around.
To delete a shape — select it with the Arrow tool and press Backspace.
To delete a point of a shape — select the shape, then select one of its points, then press Backspace.
When you finish editing the file — click Save SVG file in the top toolbar and go back to the map editor. Now try to open the list of Regions: you'll see that the shapes you've just drawn appear in the table. Now you can add custom fields to Regions and continue with the map setup.