Google Map with SVG overlay
In this tutorial, we will overlay a custom SVG artwork on Google Map.
You need to have 2 Google API keys to continue: How to get Google API keys
Click the Download SVG with Google map button on the MapSVG start screen.

Enter the address of the location where you want to add a vector overlay.
Select the address from the drop-down list.
Adjust the map position as needed. Click the Download SVG button.
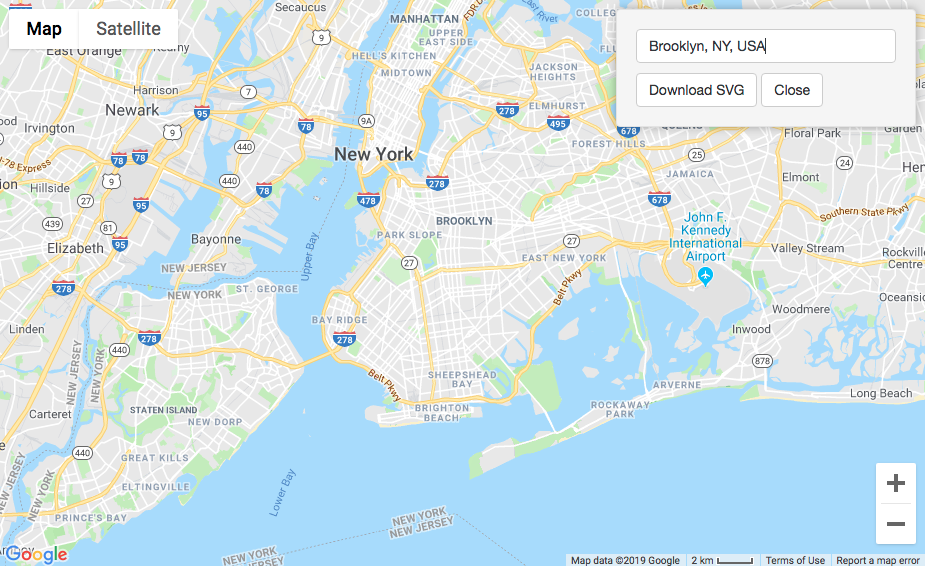
What happens next: MapSVG takes a screenshot of the visible part of Google Map. Then MapSVG inserts the screenshot into an empty SVG file, adds the map geo-boundaries data to the file (left/top/right/bottom latitude/longitude coordinates), and downloads the file to your local disk. When you upload the file back to MapSVG, the geo-data embedded in the file allows MapSVG to position all vector objects that you've drawn on the live Google Map.
Now you have 2 options:
- If you need to add complex drawings, circles, rectangles, gradients, or curves — use Inkscape or Adobe Illustrator
- If you need to draw only simple polygons — you can do that in MapSVG by clicking the
Edit SVG filebutton in the map editor
SVG Editing in Inkscape or Adobe Illustrator
You can't set IDs of individual SVG objects in Adobe Illustrator. Use Inkscape instead.
Open your SVG file in Inkscape:
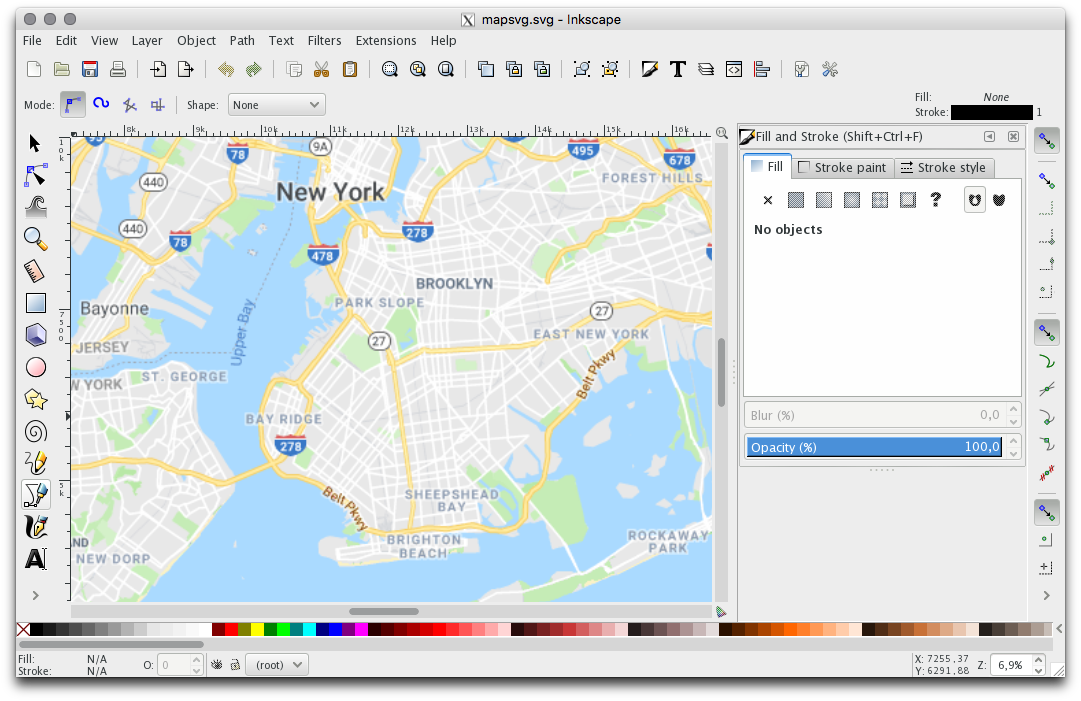
If you edit the file in Inkscape or AI — don't change the map width/height and don't move the Google Map screenshot; that breaks the geo-calibration.
Before editing the SVG file, read the following page about requirements for custom SVG files: Using a custom SVG file
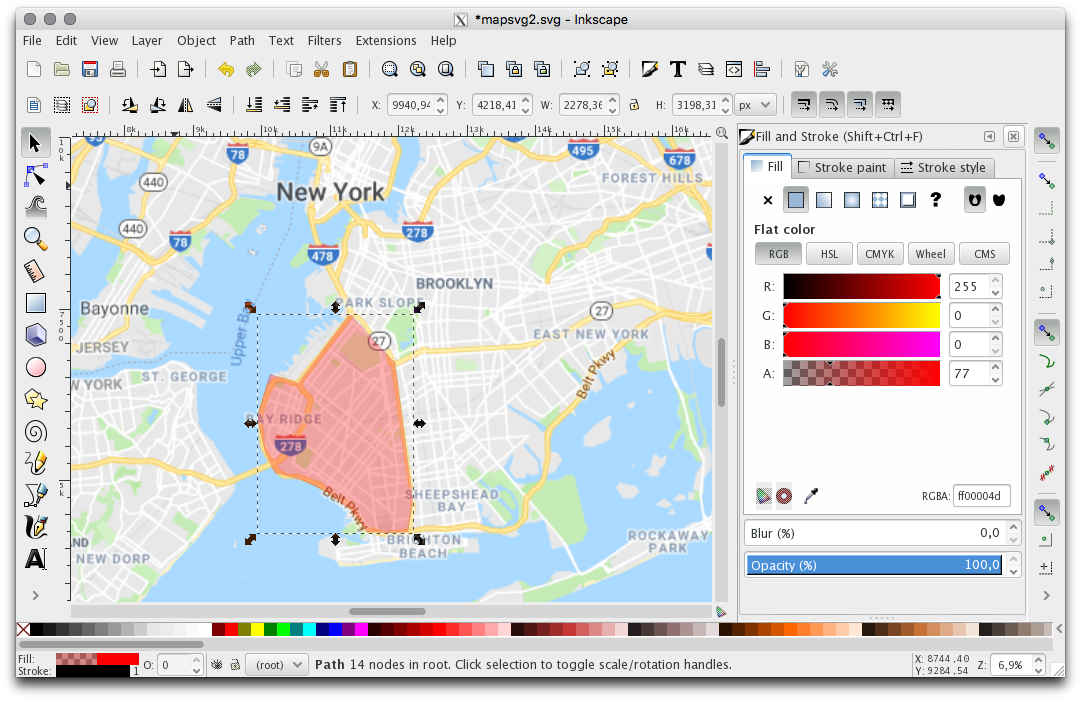
Click the pen tool on the left and add a polygon. Change the color fill to semi-transparent or transparent to show the Google Map underneath:
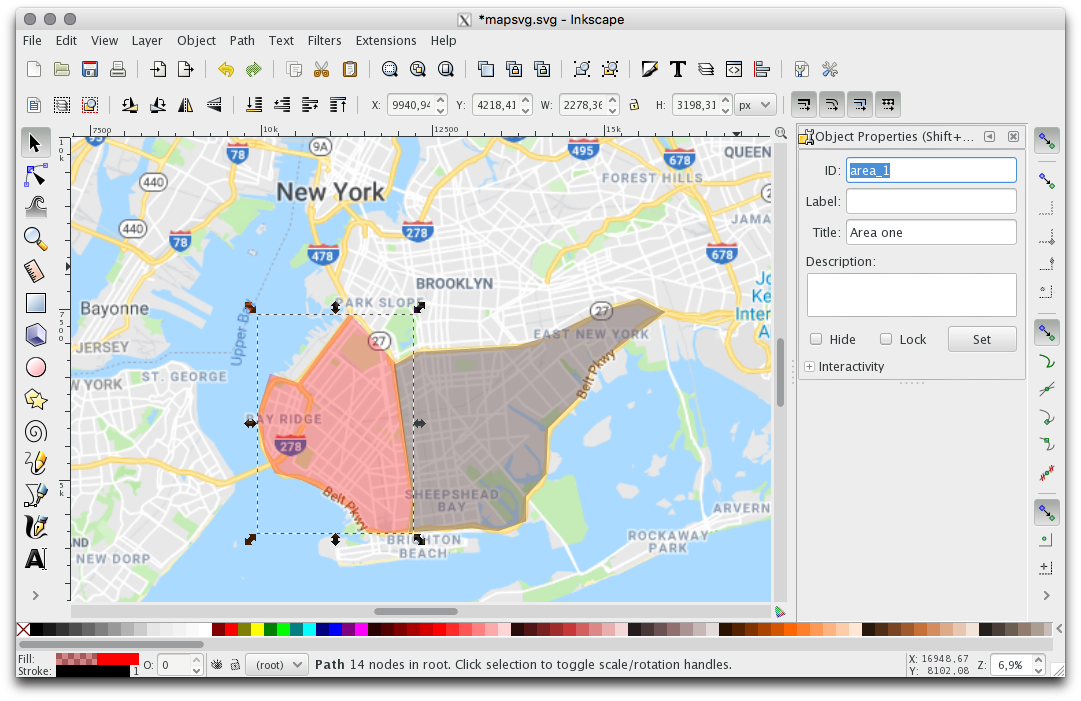
Add one more polygon. Now right-click a polygon, choose Object properties, change the Object ID in the form on the right side, and click Set:
Don't remove the Google Map screenshot in Inkscape/AI before saving the SVG file. MapSVG will remove it during the uploading process.
Once you finish drawing, save the file as "Plain SVG", go to the MapSVG start screen, and click the Upload SVG file button. Click OK when asked if you want to remove the screenshot from the background.
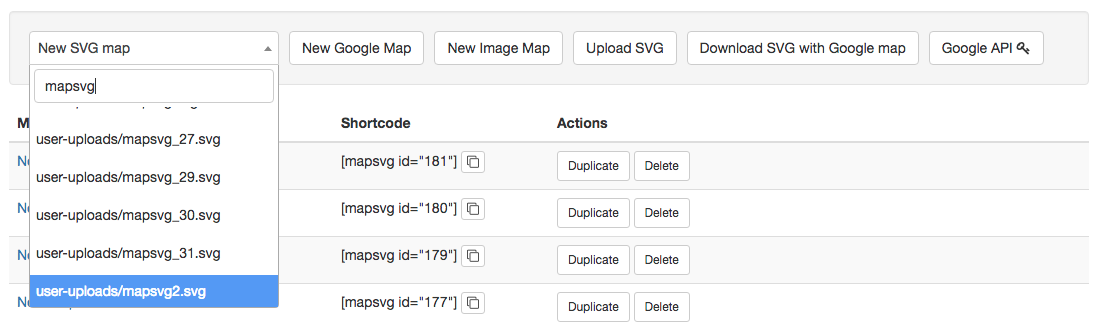
When you see the "File is uploaded" message, click the New SVG map drop-down list, enter "user-uploads" in the search box to see all uploaded files, find the file "user-uploads/mapsvg.svg", and click it to create a new map.
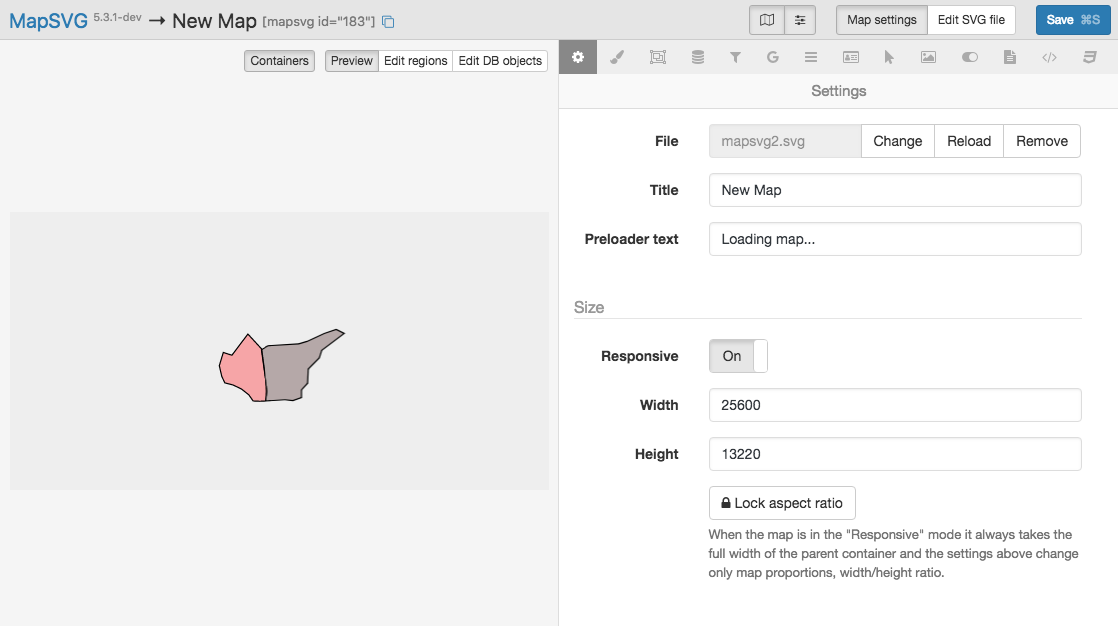
You will see the polygons you've drawn and a grey background:
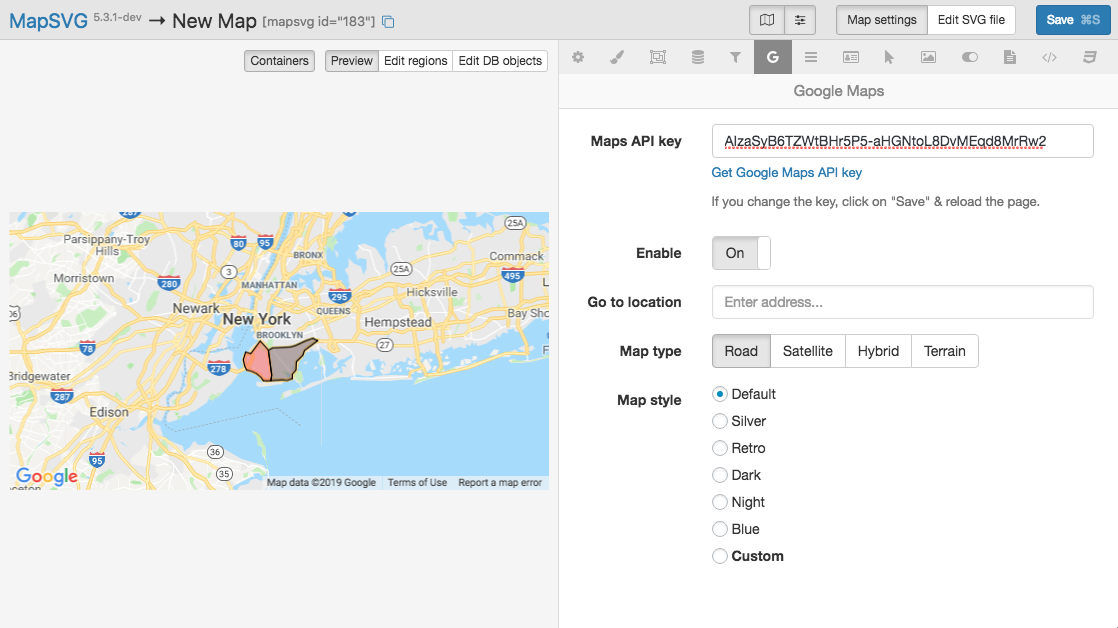
Go to Menu > Google maps and enable Google Maps:
Go to Menu > Settings and enable zoom and scroll. Try moving the map around.
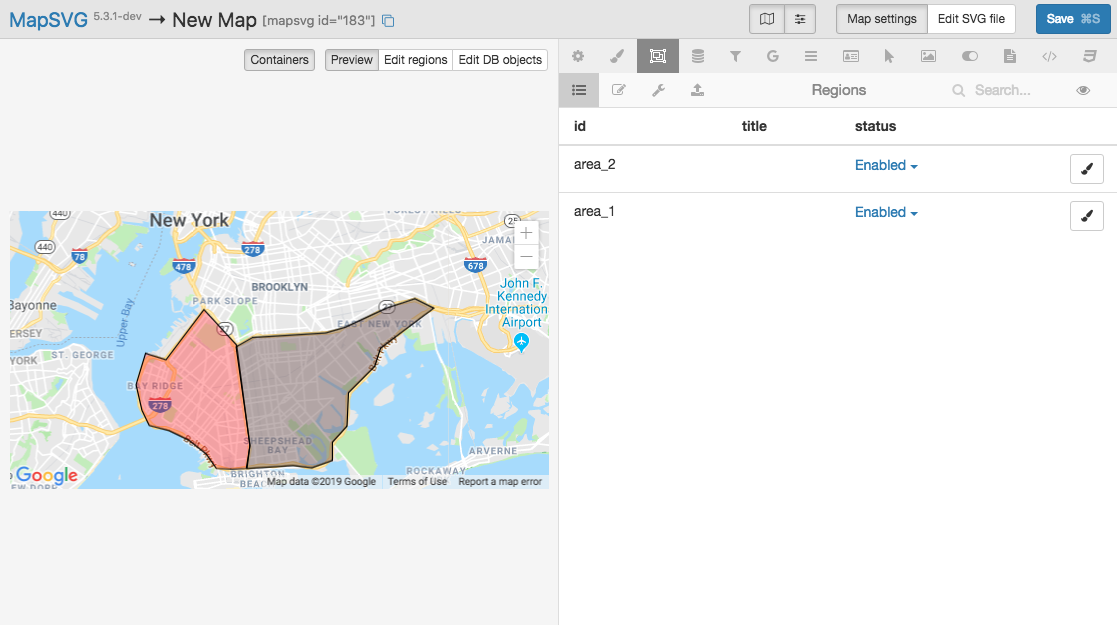
Go to Menu > Regions and see 2 rows with your objects:
SVG editing in MapSVG
- Upload the file you've just downloaded back to MapSVG by clicking
Upload SVG file - Click
OKwhen asked if you want to remove the screenshot from the background - When you see the "File is uploaded" message, click the
New SVG mapdrop-down list, enter "user-uploads" in the search to see all uploaded files, find the file "user-uploads/mapsvg.com", and click it to create a new map - When the new map is created, enable Google Maps — Menu > :fa-google: Google maps > Enable > On
- Click the
Edit SVG filebutton in the top toolbar - Draw polygons, then click
Save SVG fileand go back to the map settings - See the list of Regions — it should contain the SVG objects that you've drawn :fa-object-group: Regions > List