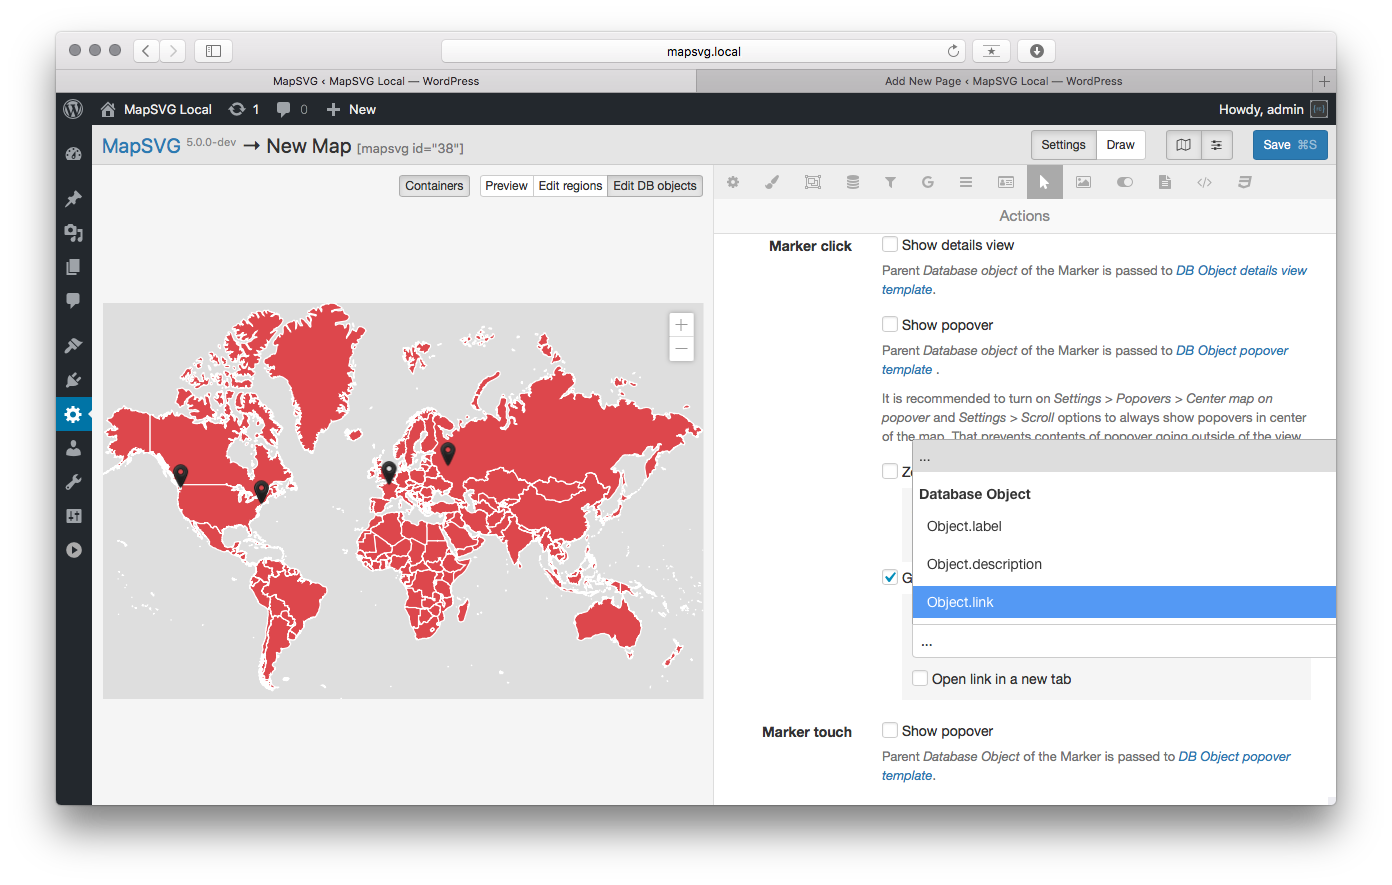
Regions and Markers as links
This tutorial will show you how to create an interactive map with Regions or Markers working as clickable links.
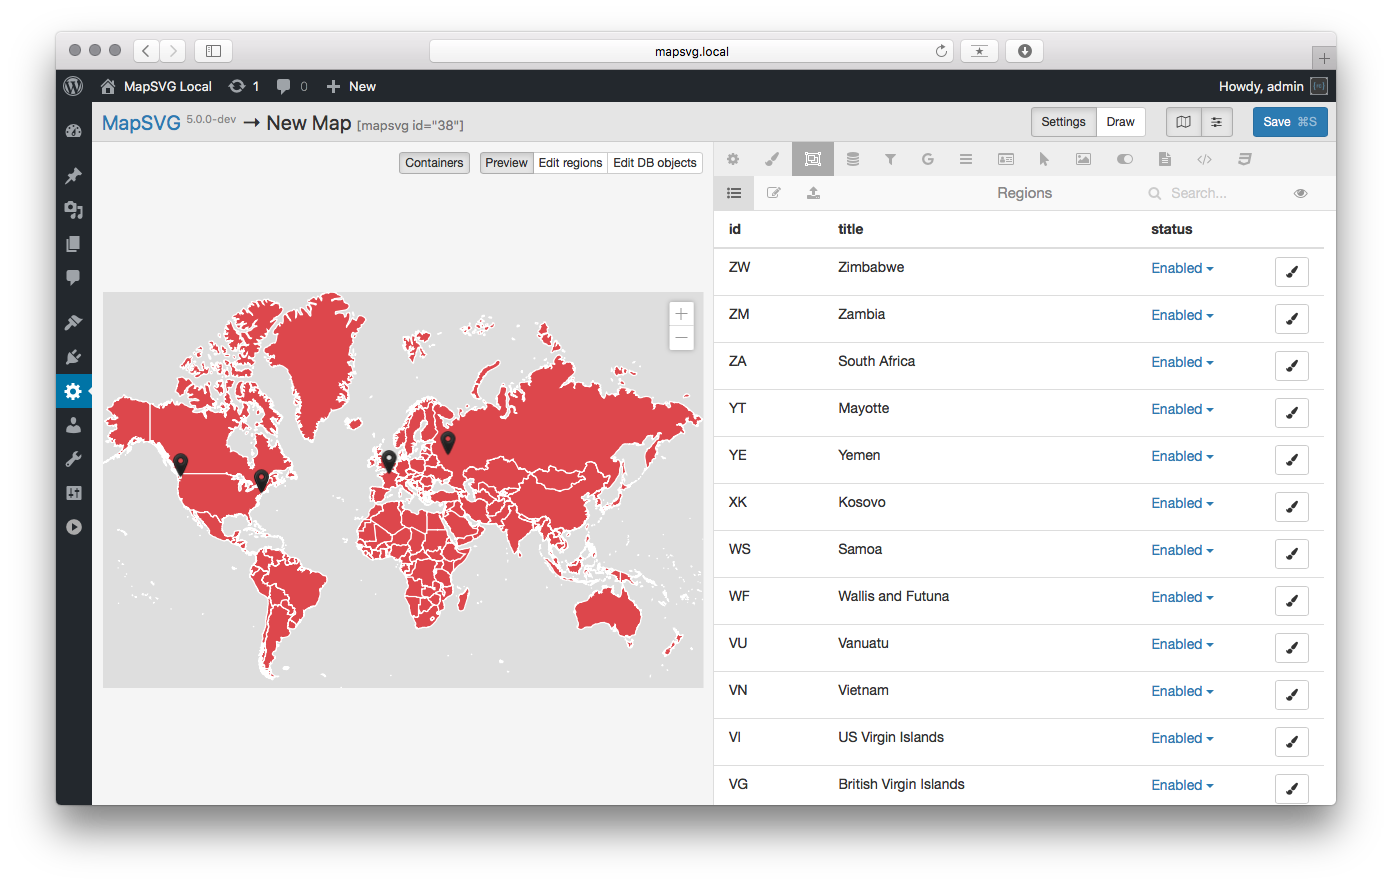
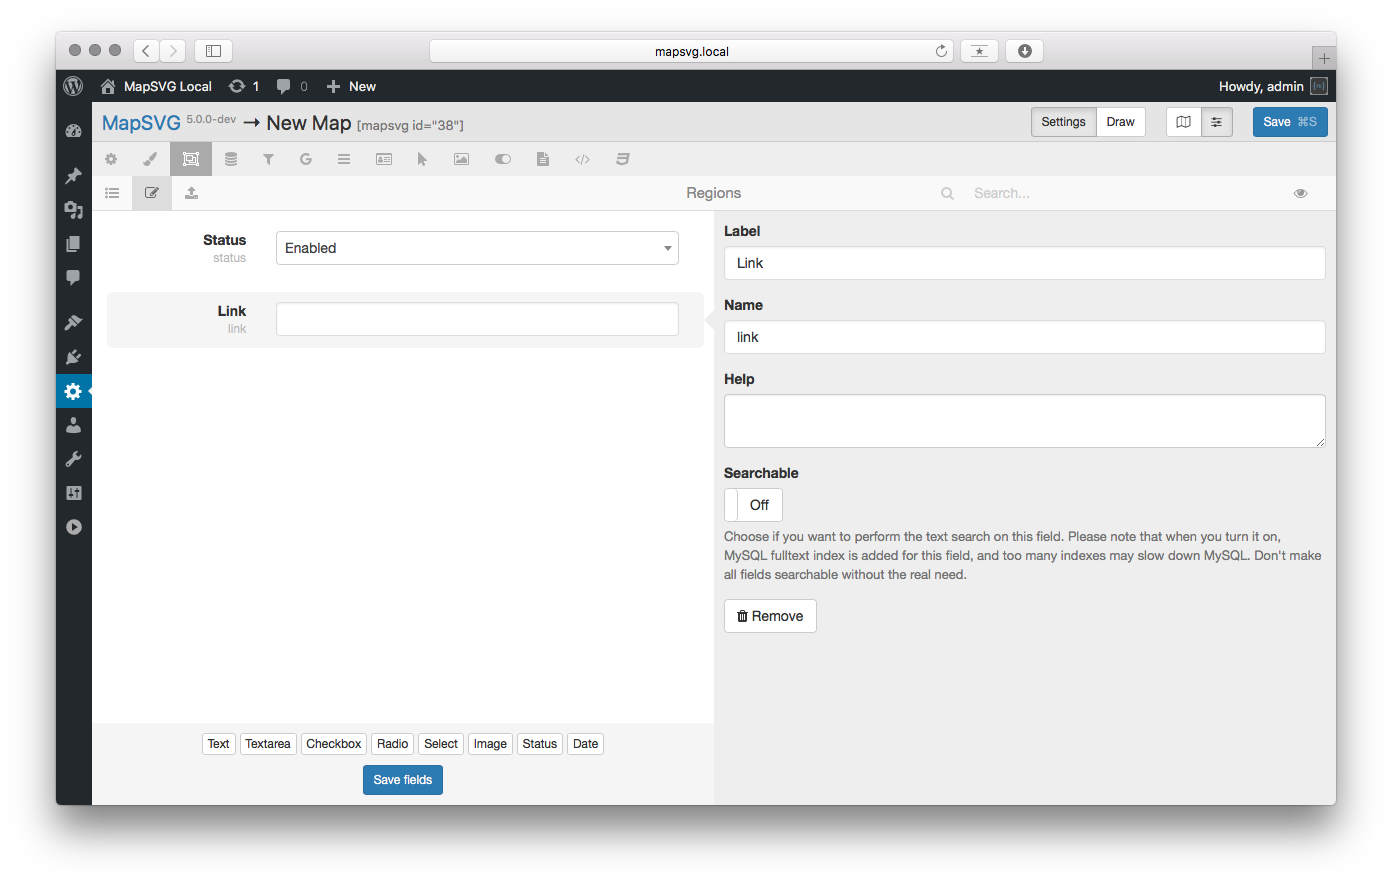
Go to :fa-object-group: Regions > :fa-pencil-square-o: Edit fields.
Click the Text button at the bottom to add a new Text field and name it "Link".
Click the Save fields button at the bottom.
Go to :fa-object-group: Regions > :fa-list-ul: List.
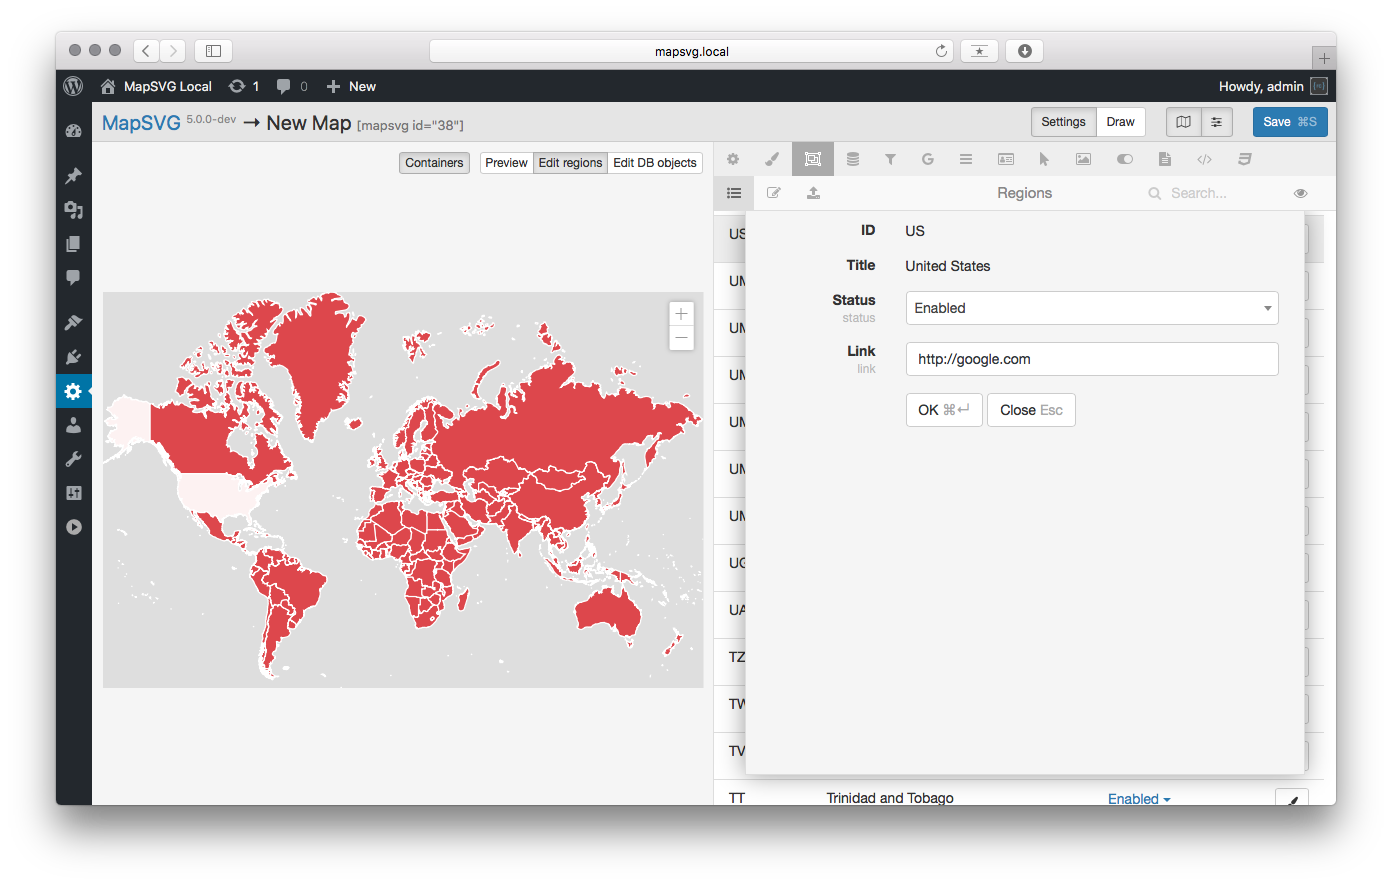
Click the Edit regions button above the map, then click a country on the map to edit its fields.
Enter a URL in the Link field, then click OK.
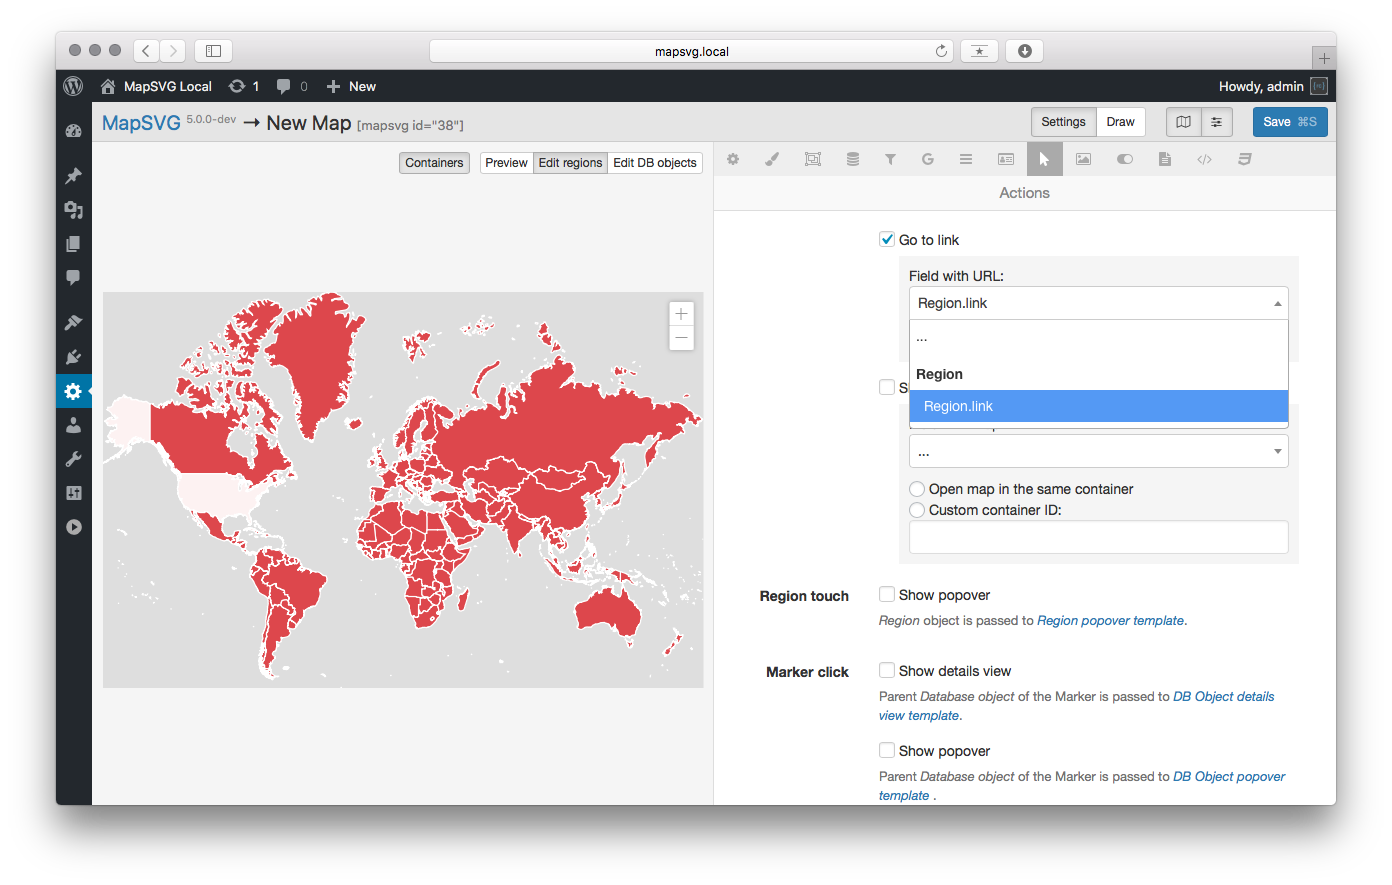
Go to :fa-mouse-pointer: Actions.
Click the following checkbox: Region click > Go to link stored in ...,
then choose the Region.link field from the drop-down list.
Save the map settings.
You can't test links in the map preview mode, so you need to create a page and add the map to it.
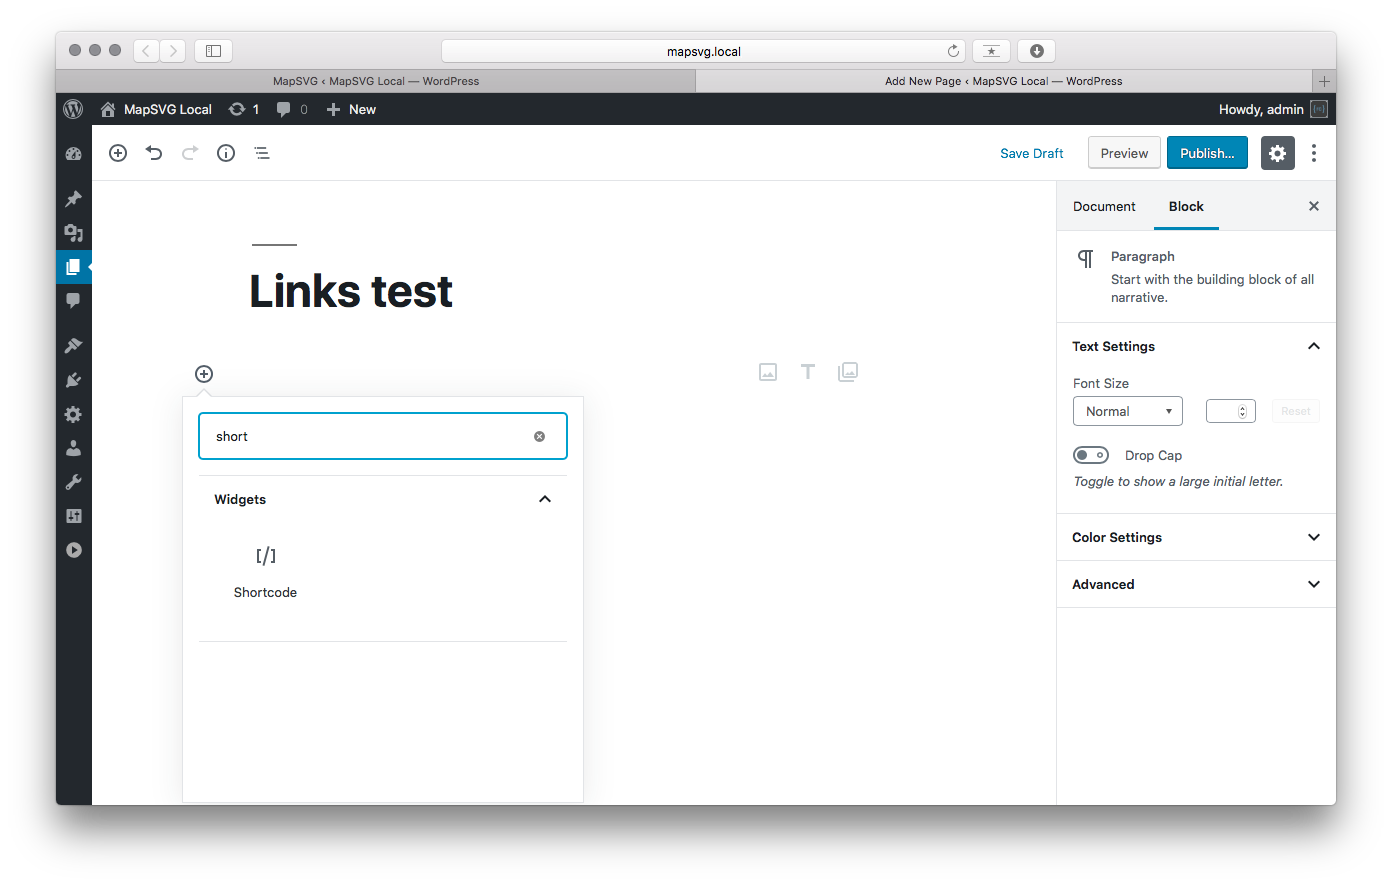
Go to WP Admin > Pages > Add new, then click the + sign on the left and search for the "shortcode" block in the Gutenberg editor.
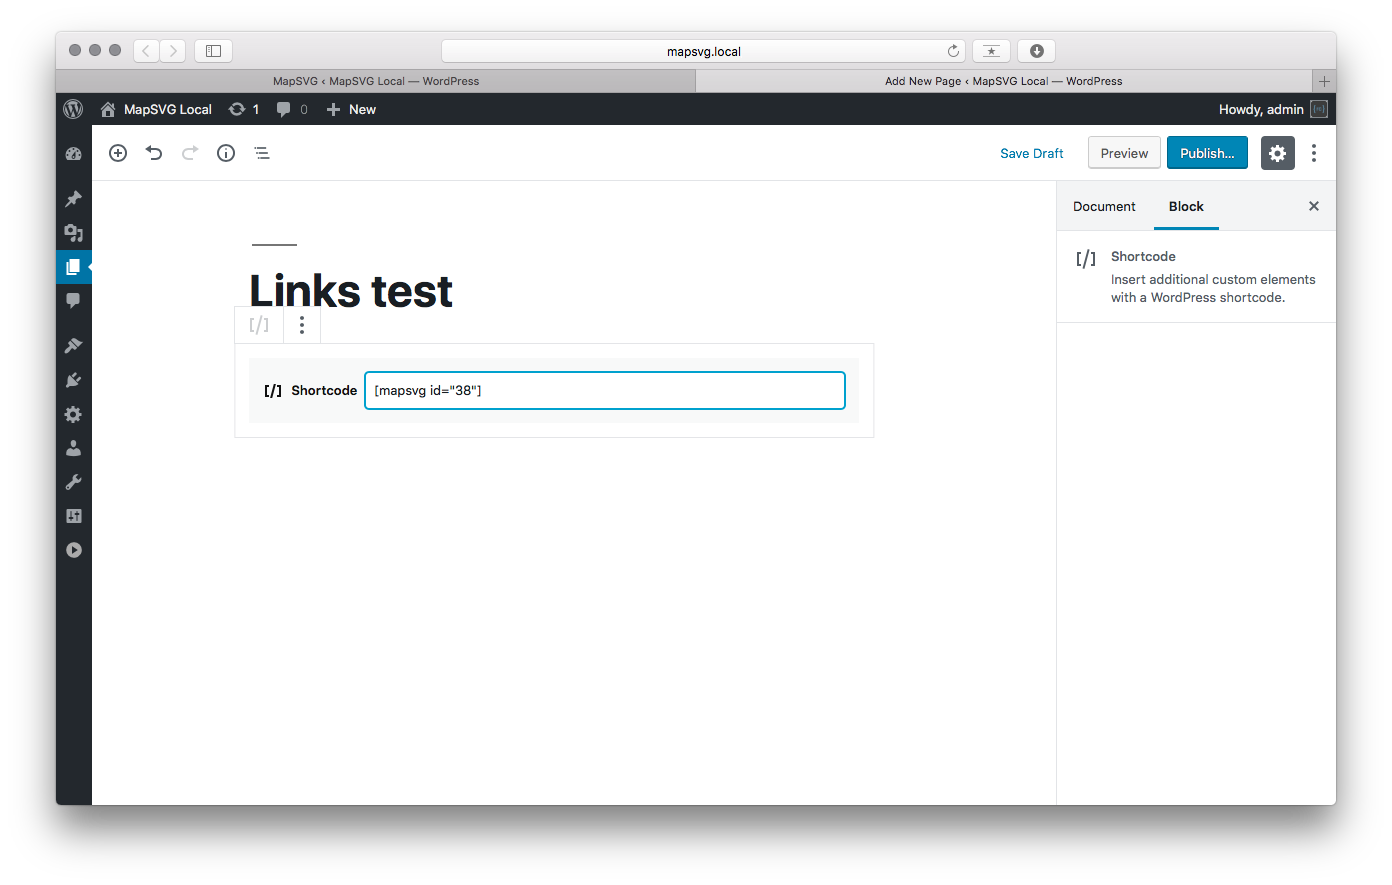
Add the MapSVG shortcode in the following format: [mapsvg id="YOUR_MAP_ID"].
Publish the page, open it, and try clicking the country where you added the link.
Now let's go back to the map settings and set up Markers in the same way.
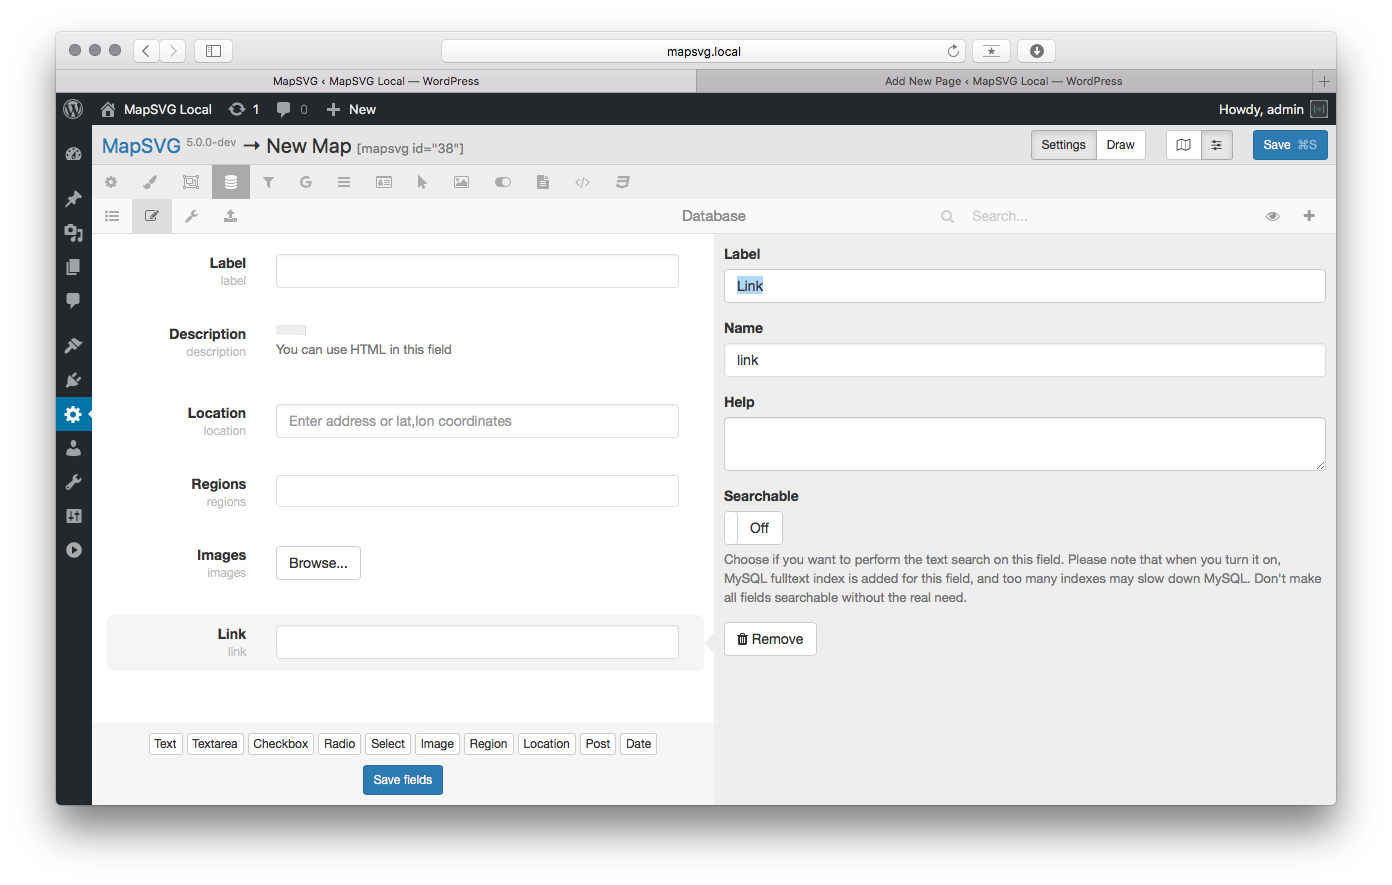
Go to Database > :fa-pencil-square-o: Edit fields.
Click the Text button at the bottom and create a Link field as you did previously for Regions.
Go to Database > :fa-list-ul: List.
Click an object in the list and add a URL to the Link field, then click OK.
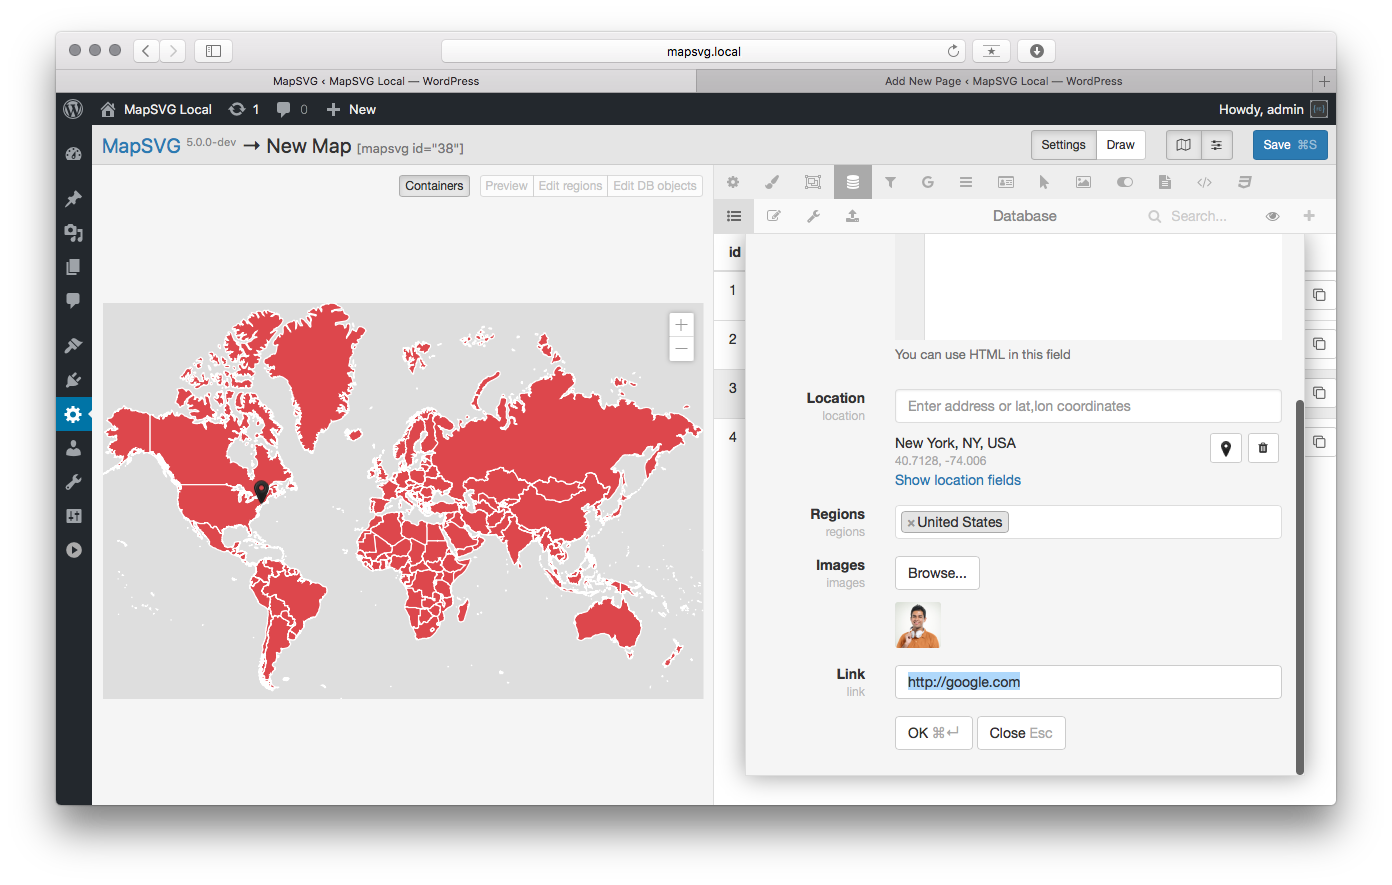
Go to :fa-mouse-pointer: Actions.
Click the following checkbox: Marker click > Go to link stored in ...,
then choose the Object.link field from the drop-down list.
Save the map settings, go to the page you created previously, and try clicking the Marker.