MapSVG tutorial
Google Maps with custom SVG overlay
This tutorial explains how to add a custom artwork to Google Map.
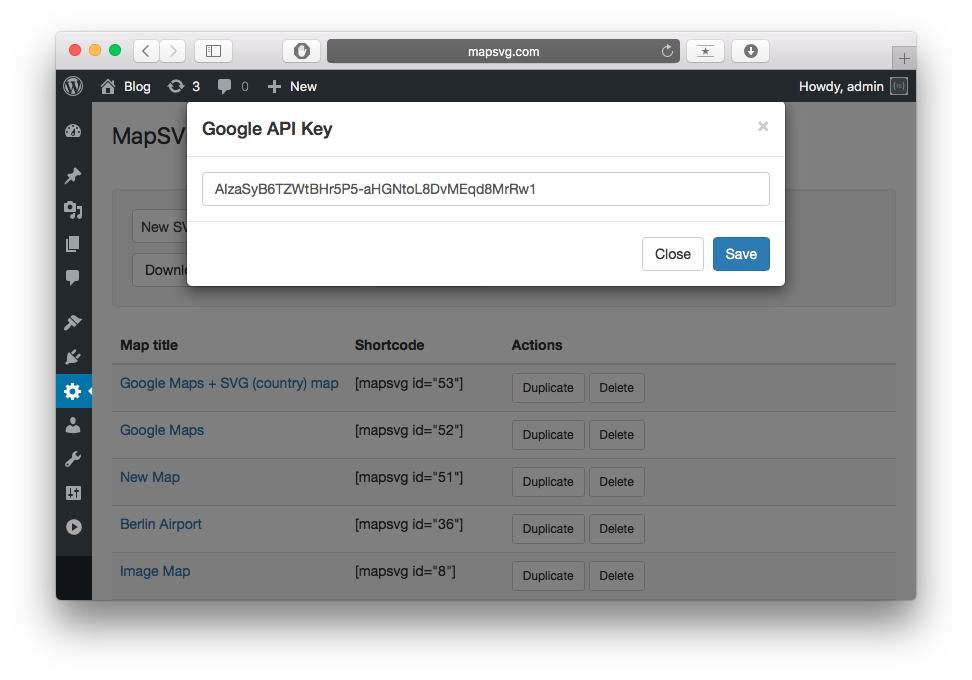
If you don't already have Google API key stored in MapSVG, add it now by cliking on
Google API button on MapSVG start screen.
Then click on Download SVG with Google map button on MapSVG start screen.
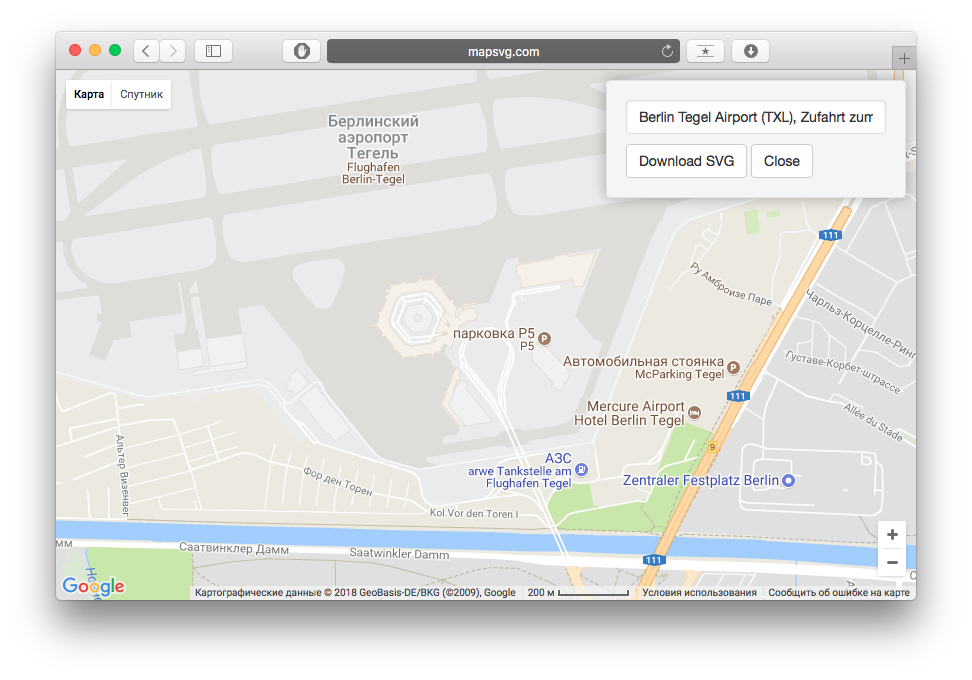
You'll see full-screen Google Map. Enter the address of location you need to add your artwork to and select the address from drop-down auto-suggestion list.
In this tutorial we will add an interactive SVG map of Berlin Tegel airport as on overlay on top of Google Map.
After you entered an address, zoom & scroll the map as needed. Keep in mind that you will
draw later on top of the map screenshot so you need perfect zoom level & map position.
When you're ready - click on Download SVG button.
What happens then: new blank SVG file in generated - with the screenshot of Google Map in the background. And that SVG file will have a special hidden parameters stored inside: geo-bounds, taken from current Google Map position. Whatever you draw later in that SVG file in any vector editing software such as Adobe Illustrator or InkScape or any else - will be then perfectly positioned on live Google Map in MapSVG. Let's see how it works.
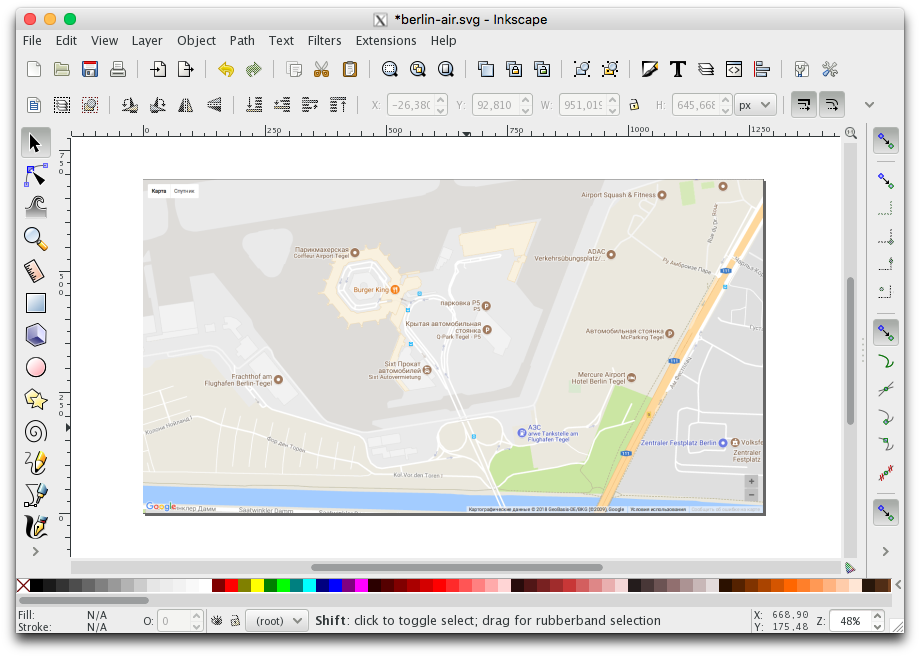
Open SVG file downloaded from MapSVG in your vector editing software. We use InkScape editor because it has some important features needed for SVG files which Adobe Illustrator is missing.
Download InkScape (it's free, available for Mac & Win): http://inkscape.org
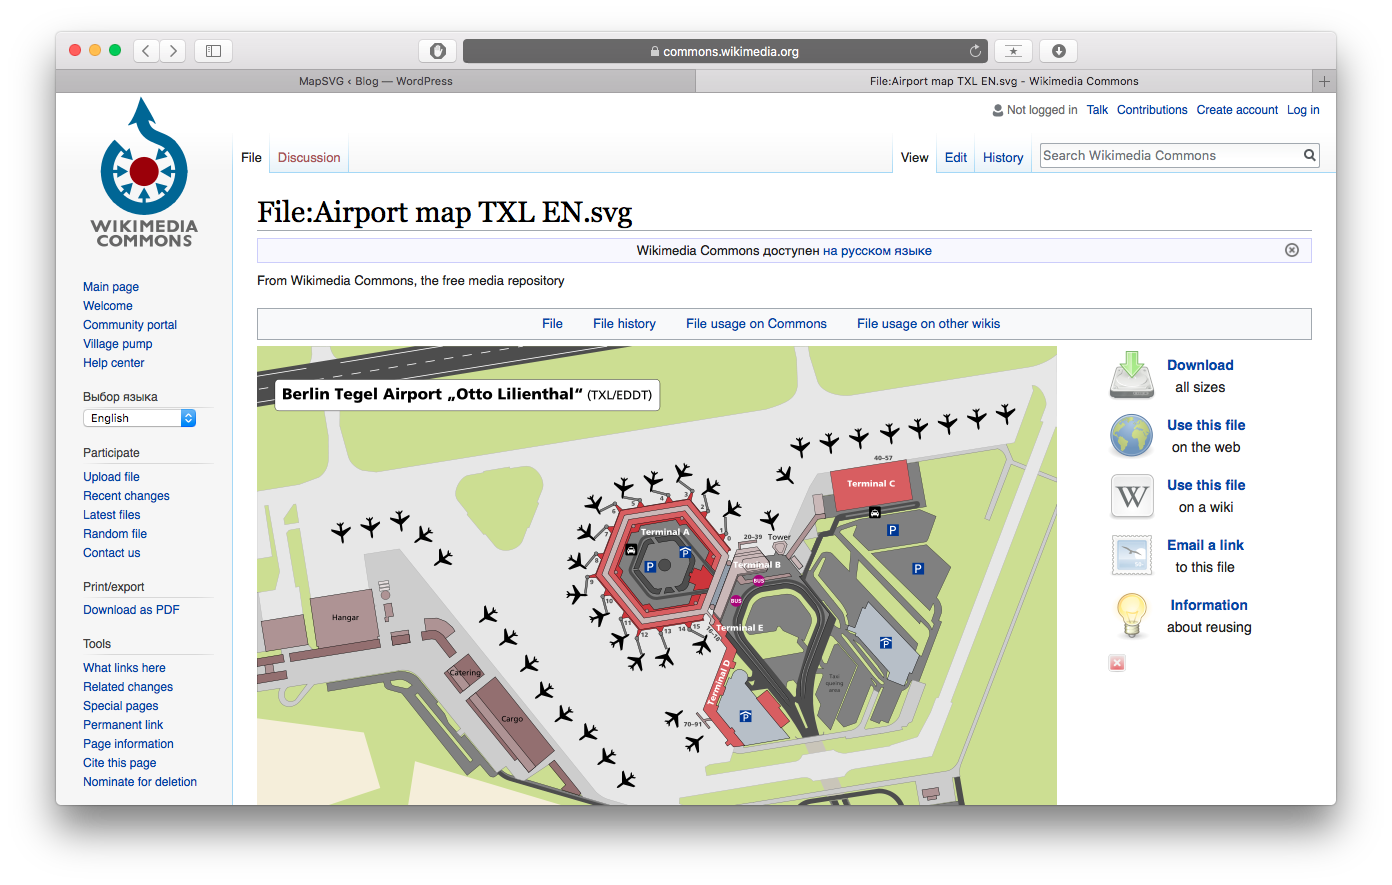
Now you can start drawing, but to make things faster just for this tutorial we've downloaded ready SVG image of Berlin Tegel airport from Wikipedia.
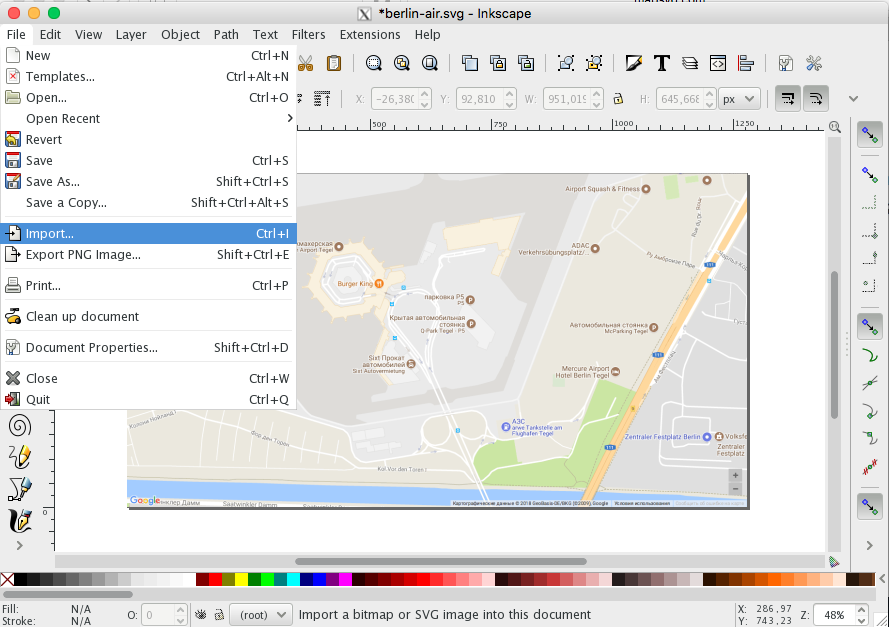
Choose Menu > File > Import in InkScape and select downloaded SVG file of Berling Tegel airpot.
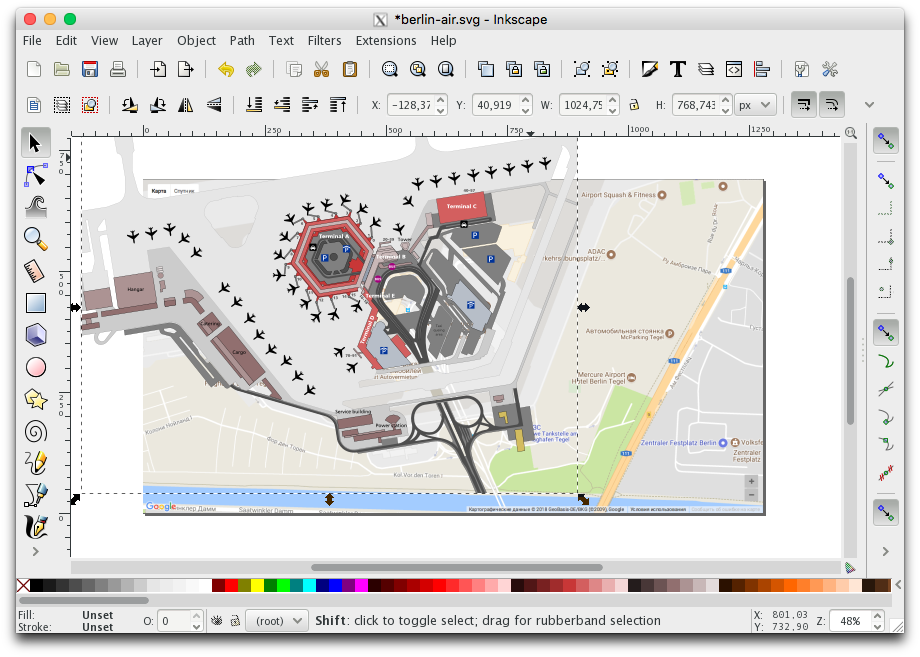
Change size and position of imported SVG image to make it perfectly match the Google Map background.
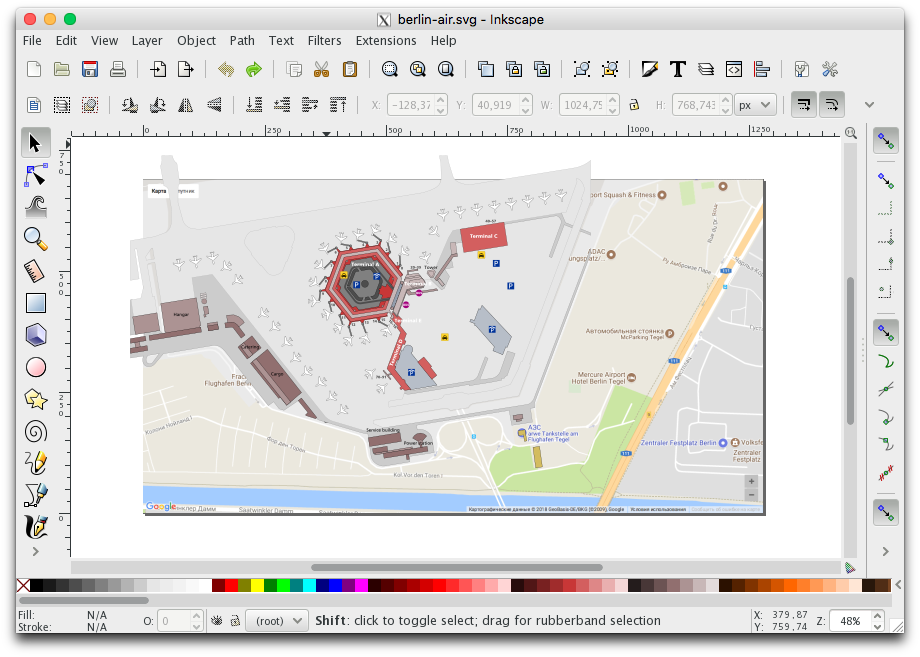
We also changed some colors and removed a few objects.
Remember that if you need an SVG object to be clickable in MapSVG - that object must have an ID. To set an ID, right-click on an object, choose "Object properties", enter ID and click "Set".
When you're done, choose File > Save and choose "Plain SVG" and saving file properties.
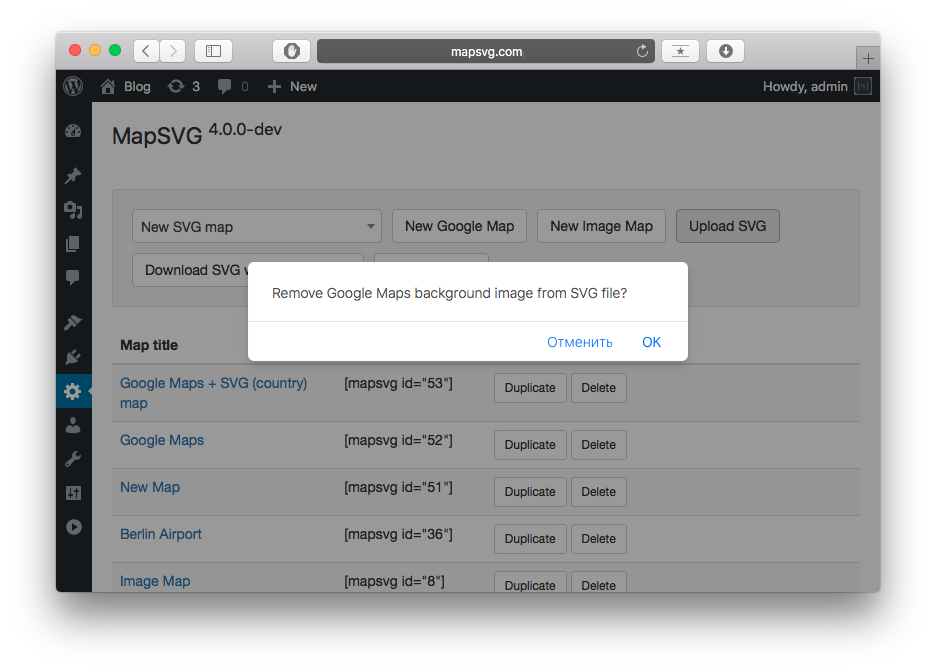
Now go back to MapSVG: click on Upload SVG button and choose your file.
You will be asked if you want to remove Google Map backround from the SVG file before uploading.
Click OK to remove it.
We don't want to keep Google Map screenshot in the background since we want a live Google Map, not static image. Background removing step is added into MapSVG to make future updates to your file more convenient: you don't need to remove (and return it back later) the Google Map background in vector editing software maually each time when you add a change into your file and re-save it for MapSVG: keep the background - MapSVG will remove it for you.
When the file is uploaded, choose New file > user-uploads/your-file-name.svg
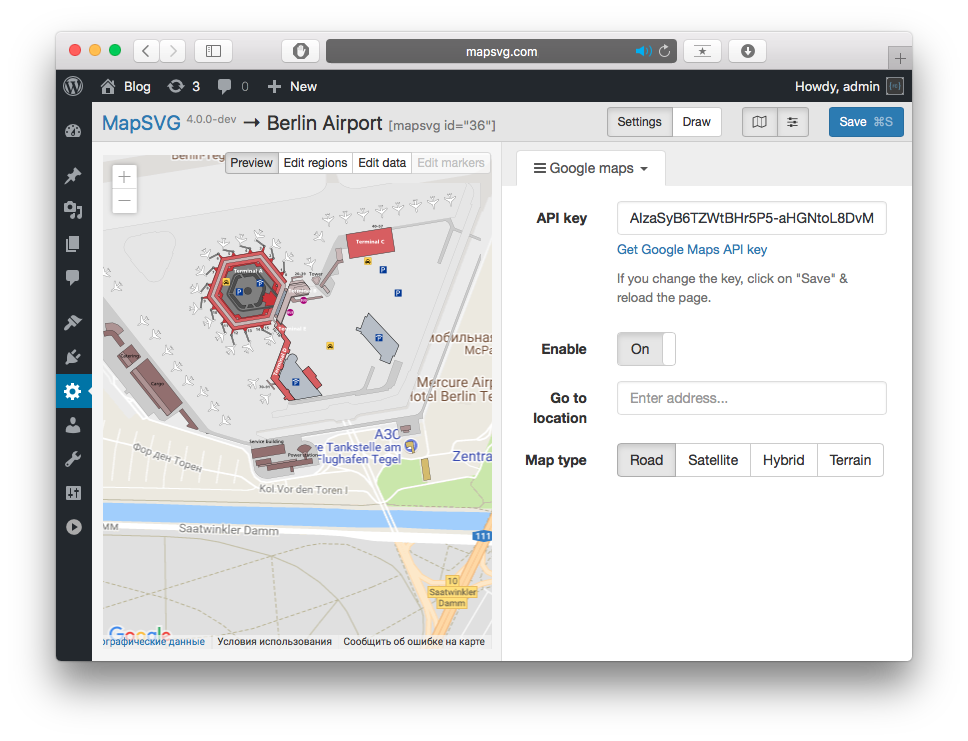
Turn on Google Maps: MapSVG > Google maps > Enable > ON.
The map is ready!
Next tutorial: Groups: objects visibility toggles