Loading WordPress posts to maps
In this tutorial, you will learn how to load WordPress posts to maps.
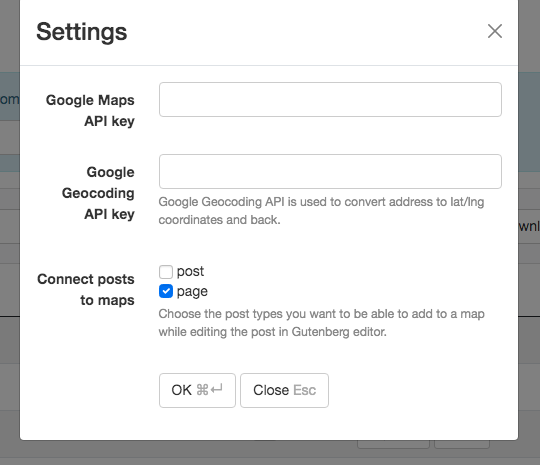
Go to MapSVG start screen and click on the Settings button. Choose the post types you want to connect to the maps, for example, page:
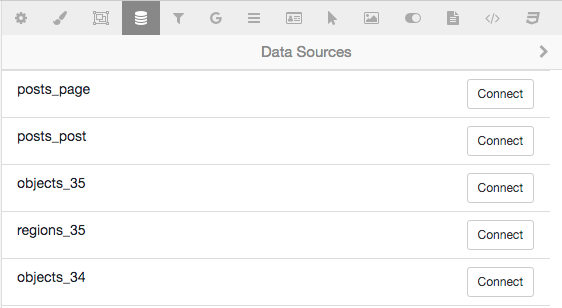
Now create a new map and go to the Database tab. Click on the < Data source button in the top toolbar. In the list of available data tables, find the table with the name posts_{POST_TYPE}, for instance, posts_page (if you've chosen "page" post type in the previous step), and click on the Connect button on the right side of the row:
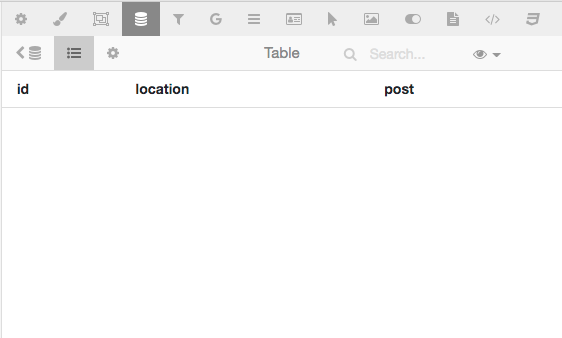
The view goes back to the table view, which is empty because we didn't add any posts to this map yet:
Click on the "Save" button after the previous step to store the connection to the new data source in the map settings.
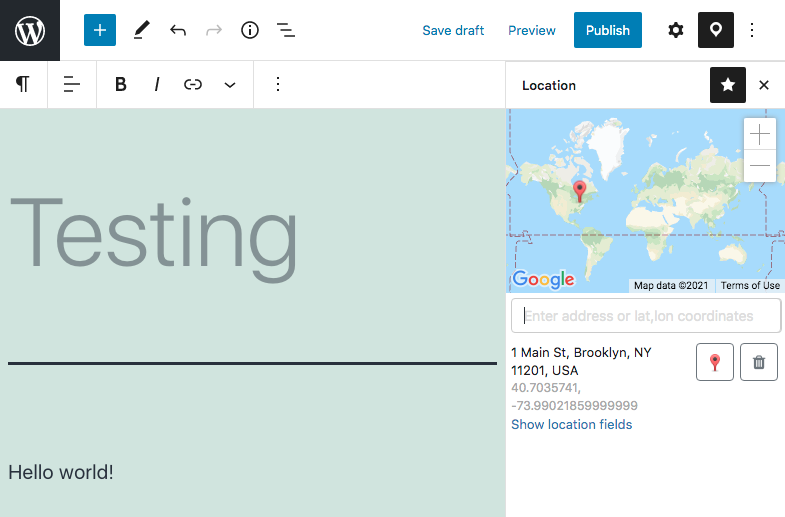
Don't close the tab with the map! In a new tab, go to WP Menu > Pages > Add new. Enter post title, then click on the icon in the top toolbar to load the map:
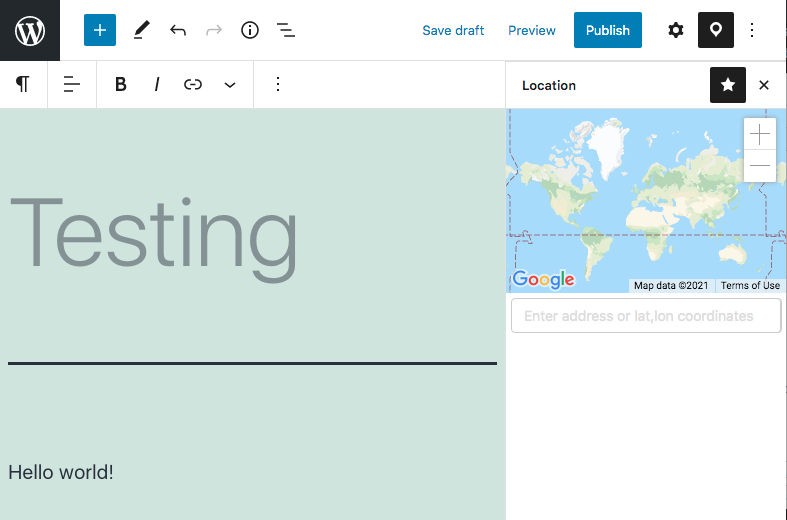
Enter an address in the search field below the map and then click on the address in the drop-down to add a marker:
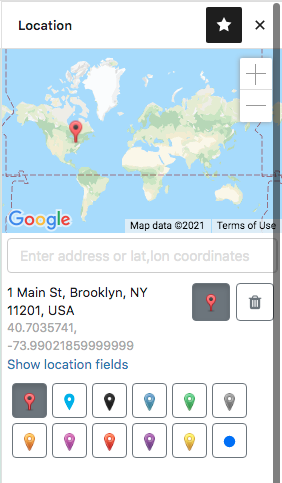
You can click on the marker button to change the marker image:
Publish the post and then go back to MapSVG. If it's already opened in another tab, reload the page to see the post:
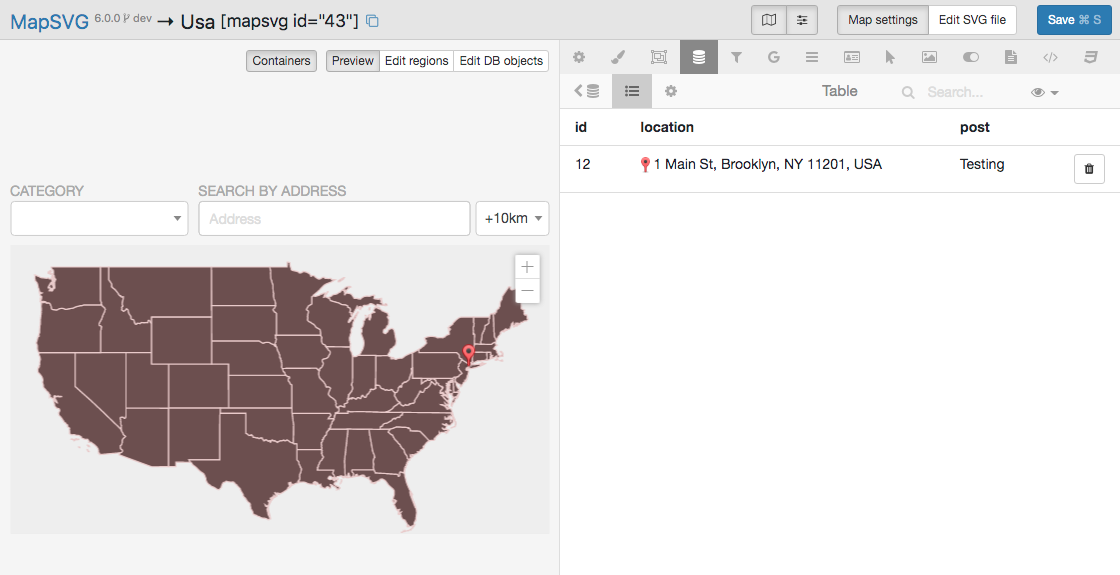
The data is synchronized in both ways:
- If you change the post location on the post editing screen, it updates automatically in MapSVG.
- If you delete the marker on the post editing screen, the post disappears from MapSVG.
- If you change the post location in MapSVG, its location is updated on the post editing screen.