MapSVG tutorial
Google Maps with SVG (country) map overlay
In the following tutorial we'll create a Google Map with a SVG (country) map overlay.
Will create a map of USA but you can choose any other geo-calibrated map included in MapSVG.
Choose New map > geo-calibrated/usa.svg on start screen of MapSVG.
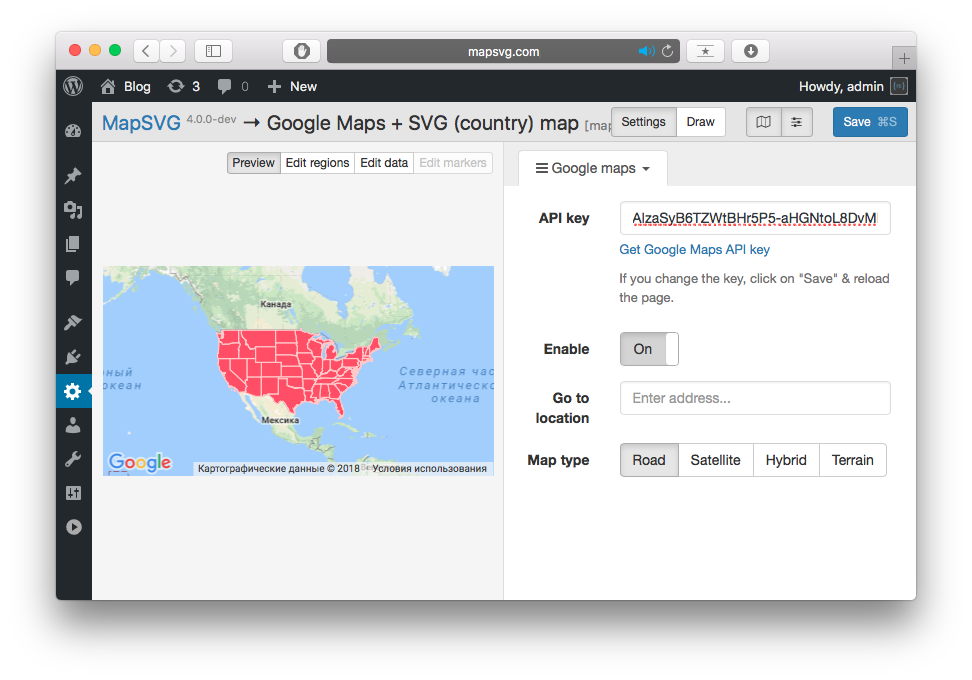
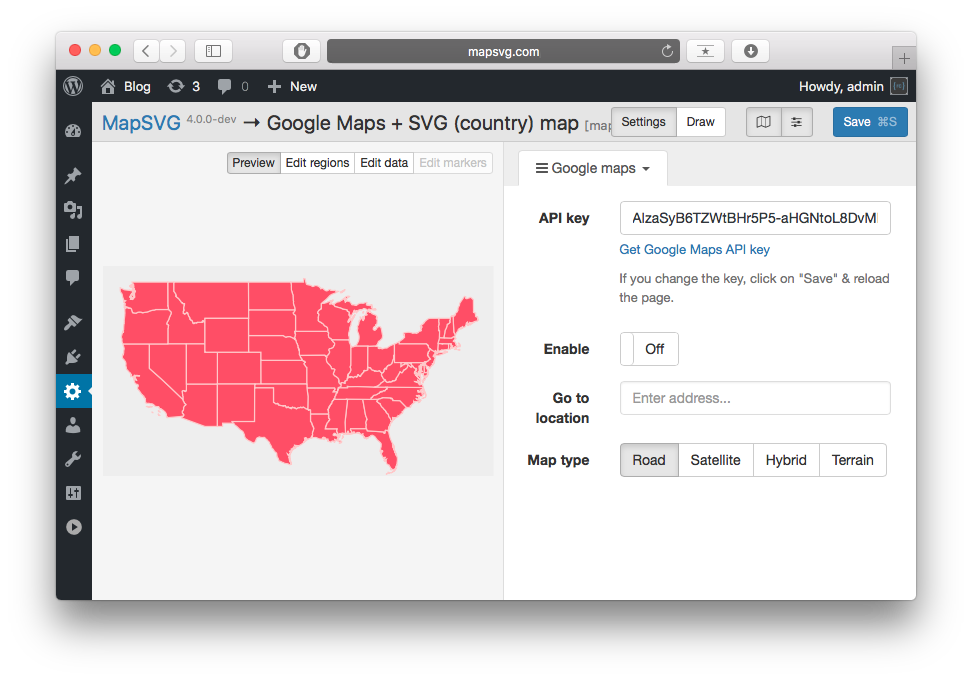
Go to MapSVG > Google maps section.
Check that Google API key is correct
and add Google Map to the background by clicking on Enable switch.
Each geo-calibrated SVG file included in MapSVG has stored geo-coordinates of its bounds (south-west and north-east corner coordinates, latitude/longitude values) which allow MapSVG to position SVG file on Google Map.
Only geo-calibrated SVG files can be used with Google Maps.
MapSVG allows you to download empty geo-calibrated SVG file for your custom artwork which can be placed on Google Map - that will be discussed in the next tutorial.
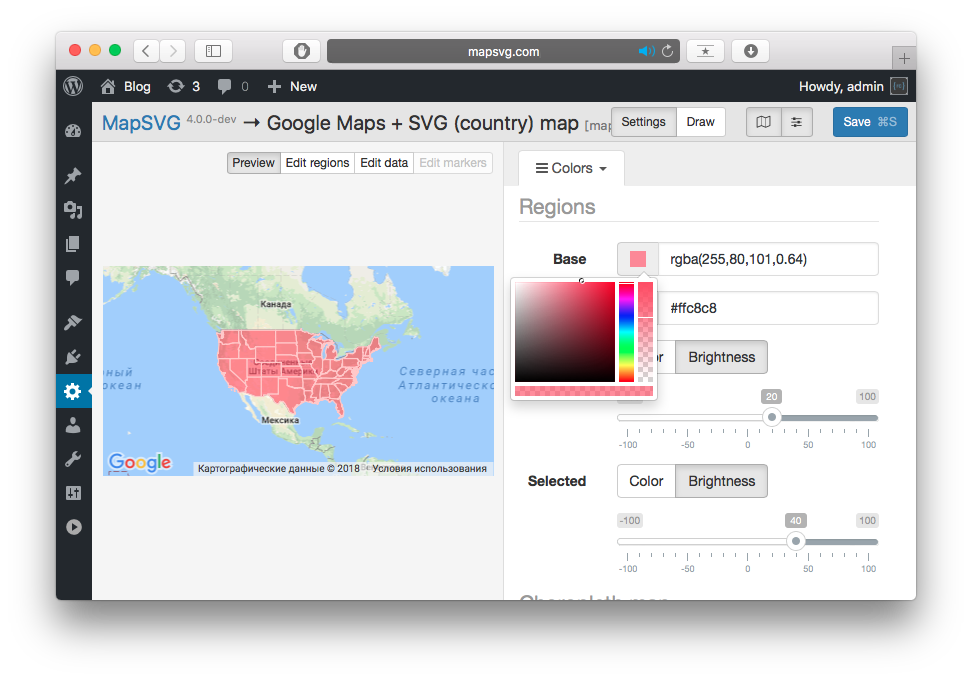
You may want to change the opacity of SVG map to make it semi-transparent so Google Map could be seen through.
Go to MapSVG > Colors and click on Base color.
In colorpicker last vertical slider on the right side controls opacity of the color.
Move it from top to middle and you'll see how SVG map becomes semi-transparent.
Sometimes this method can't be used. For example you may have different region colors
already set in SVG file so you can't use Base color setting which applies the same color
to all regions. Then you need to go to MapSVG > CSS and add the following code:
.mapsvg-region {
    fill-opacity: 0.6;
}
But CSS code doesn't have effect in WP Admin so you'll see changes only on front-end.
Next tutorial: Google map with SVG custom artwork overlay