MapSVG 3.x tutorial
1. Map with links
Let's start with a simple example: we will create a map of USA with Texas state working as a clickable link redirecting a user to Google.
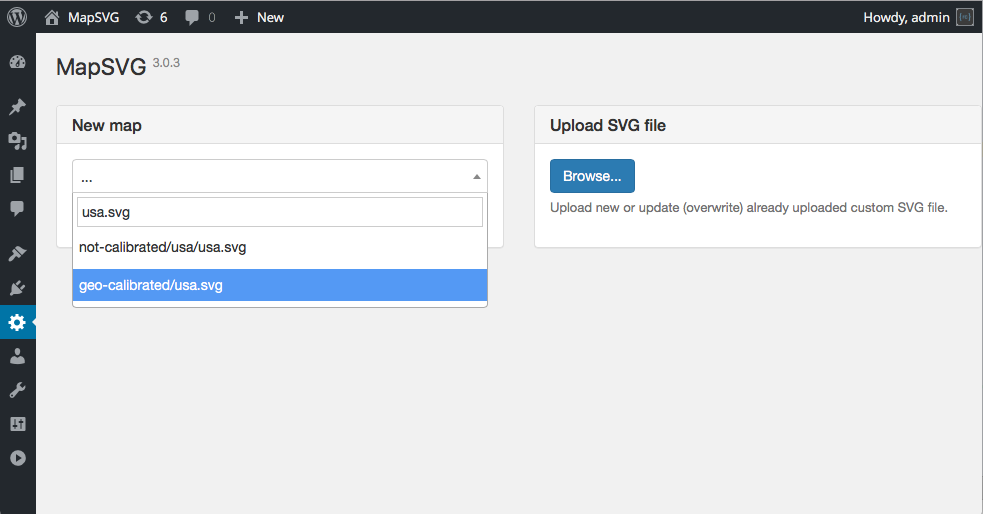
Go to MapSVG, click on "Choose SVG file..." and type in "usa.svg". You'll see suggestions with file names containing "usa.svg" string. Choose /geo-calibrated/usa.svg file.
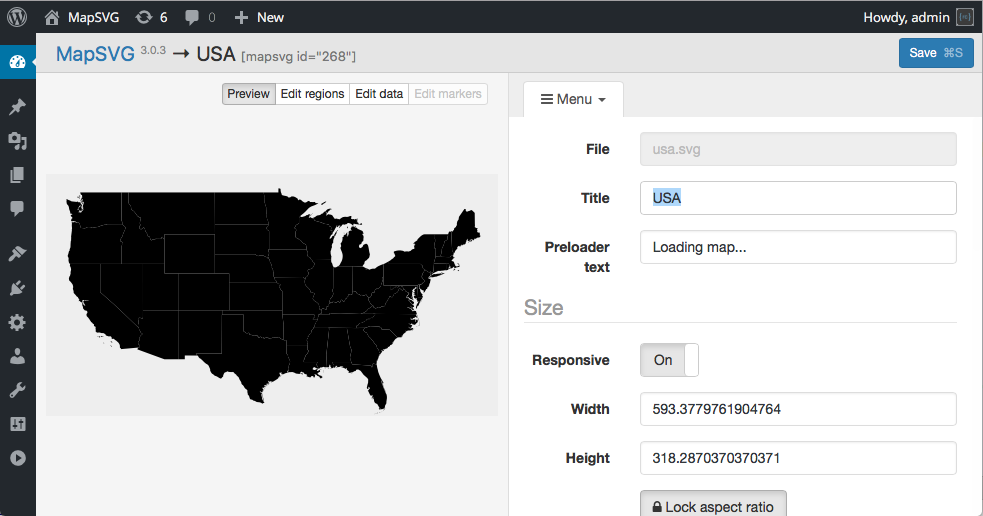
First thing you should do with a new map is set its title. Let's set the title to "USA" and click "Save".
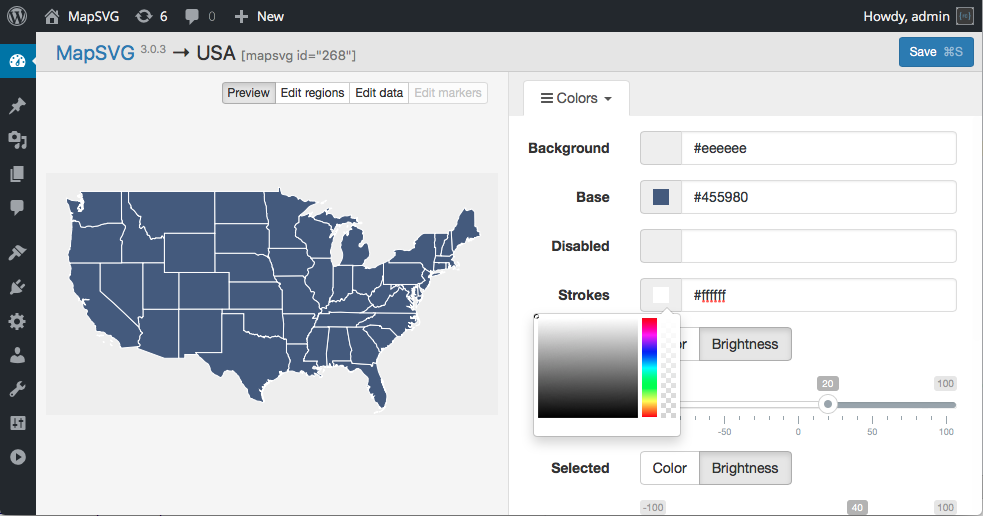
Now let's change map colors. Switch to "Colors" tab and change Base
and Stroke colors.

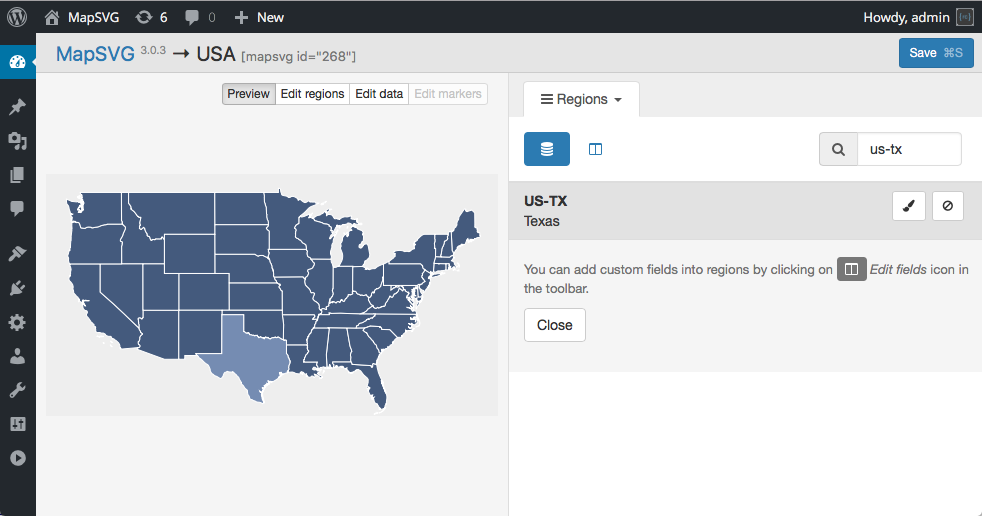
Switch to "Regions" tab. You will see the full list of all available "Regions" which are US states in case of USA map. Let's type "US-TX" into the search box to find Texas state.

Let's change Texas color to make it easier to find it later on the final map. Click on the button with "brush" icon and set some color with appeared color picker.
Now we are ready to learn a new important feature of MapSVG 3.x: custom fields.
We will use custom fields feature to store the URL address for Texas state.
Try to click on a region row in the table on the right.
The row will expand to show you all of your custom fields. You have none yet so you'll see this message:
"You can add custom fields into regions by clicking on Edit fields icon in the toolbar".
So let's add our custom field now!
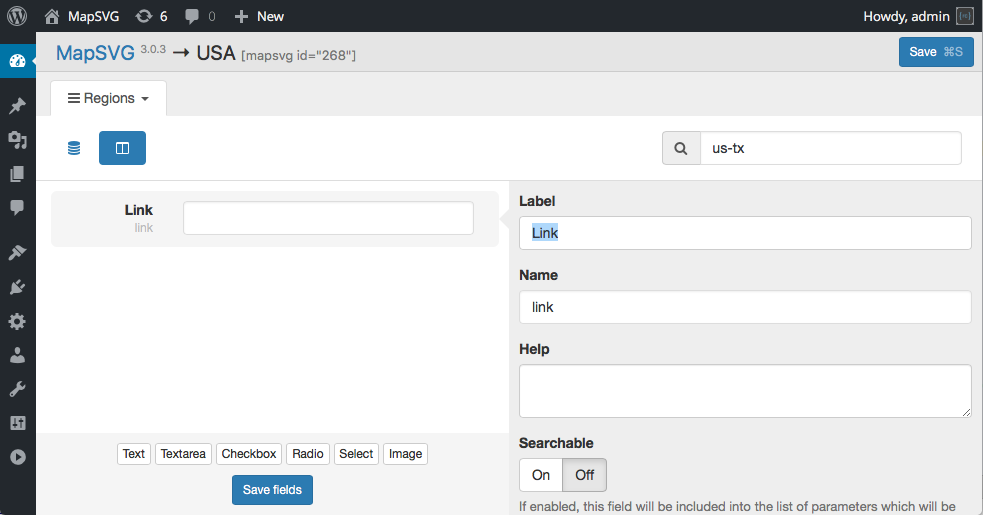
After you have clicked Edit fields button on top toolbar you should see what is usually called a
"Form builder". Click on a button with label "Text" at bottom side of the form builder. A new field
is added. Change its title to "Link" and click "Save fields" button. Then switch back to the list of regions
by clicking on "List" button on top toolbar.

Click on the row with US-TX state again. You should see the "Link" field which you've just created. Enter url "http://google.com" into it and click "OK".
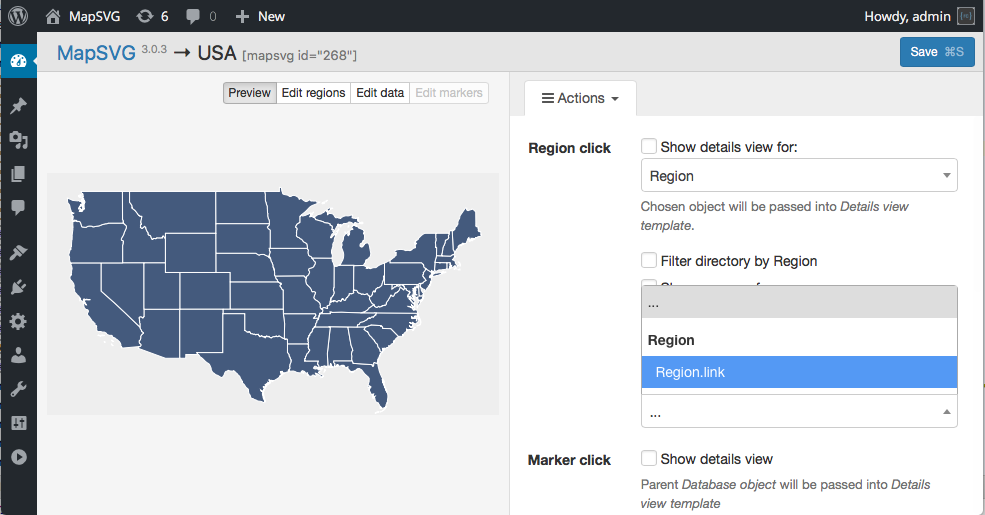
Now that we have a link stored in a custom field of a Region we need to do a final step:
tell MapSVG that click on a Region should work as click on a link. Go to "Actions" tab,
select Region click > Go to link stored in checkbox and choose your custom field from
the drop-down list under that checkbox.
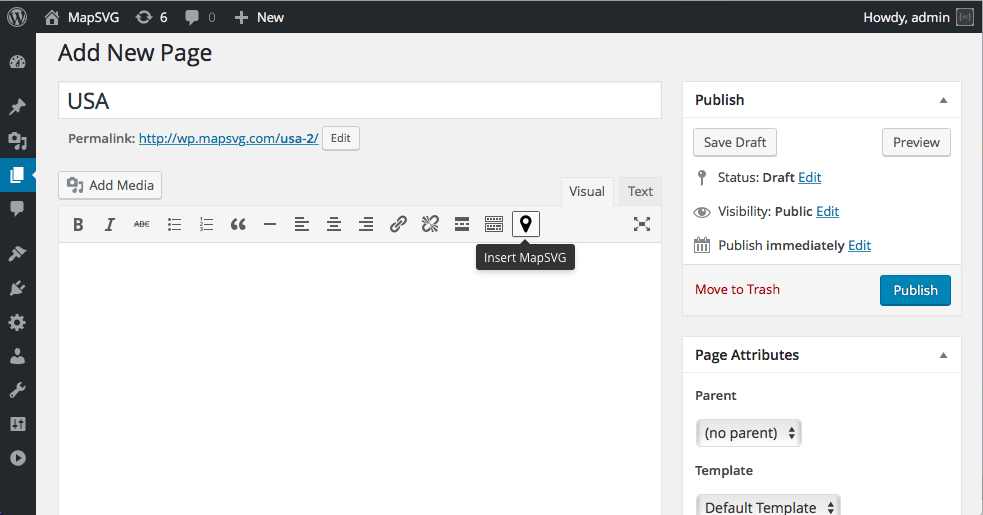
All is done and we're ready to add our map into WordPress page. Save your map and go to Pages > Add new.
Click on the marker icon in WordPress text editor toolbar. Please note that marker icon is visible only when
editor is switched to "Visual" mode.
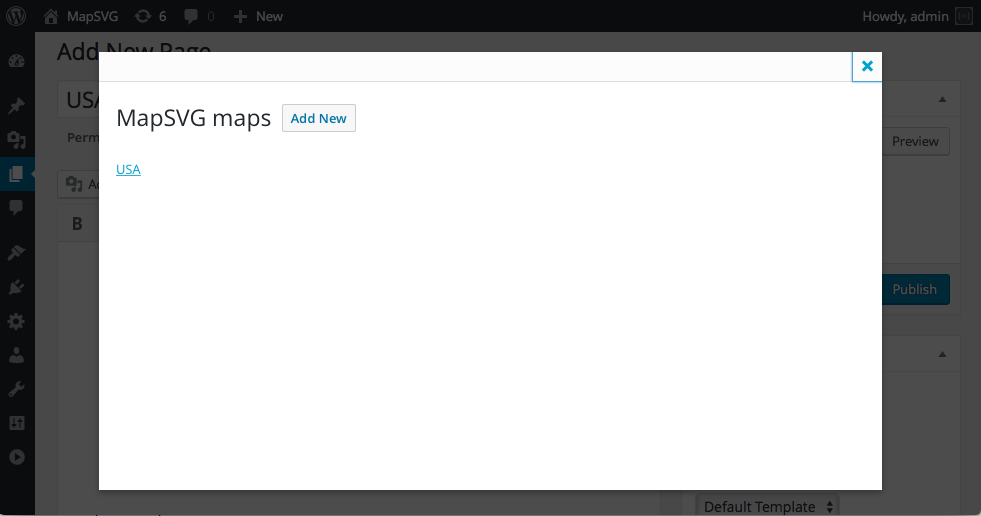
You will see a pop-up window with all maps you have created in MapSVG. Click on USA map we've just created.
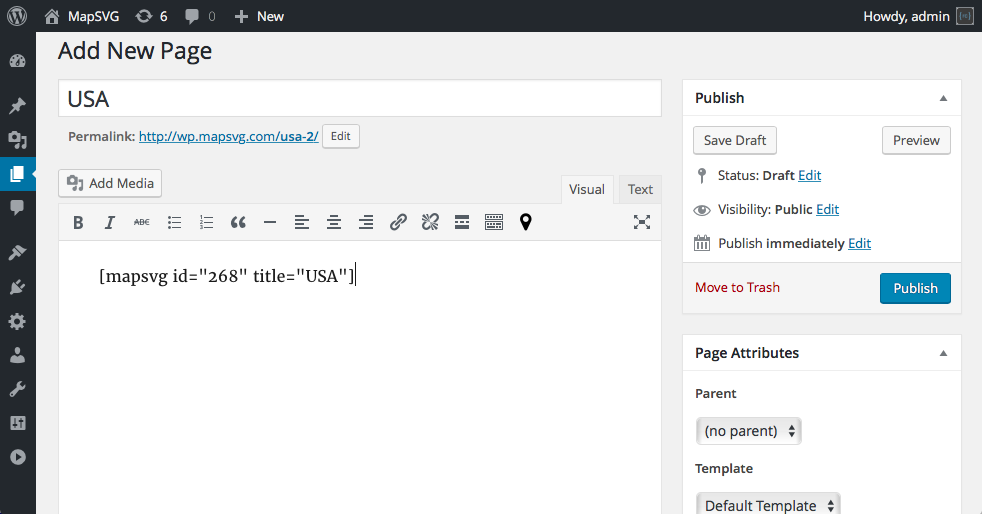
MapSVG shortcode will be inserted into the page. Click on "Publish" and see your page.
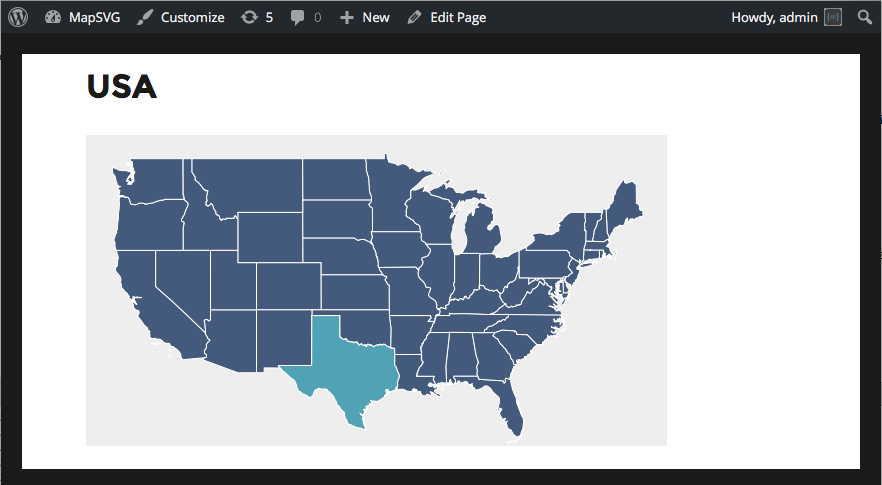
Click on the blue Texas state to see if link is working...

Congratulations!
Now you may ask why there is a need to create a link field and set its connections manually instead of having a simple default "Link" field as it was in a previous MapSVG 2.x version? The answer is flexibility: now you can store a link in a Region or in a Database object attached to a Region or you can even attach a WordPress Post to a Database object and then tell MapSVG to use WP Post URL as a link. The new approach may take a few minutes more to setup but it gives you much more freedom.